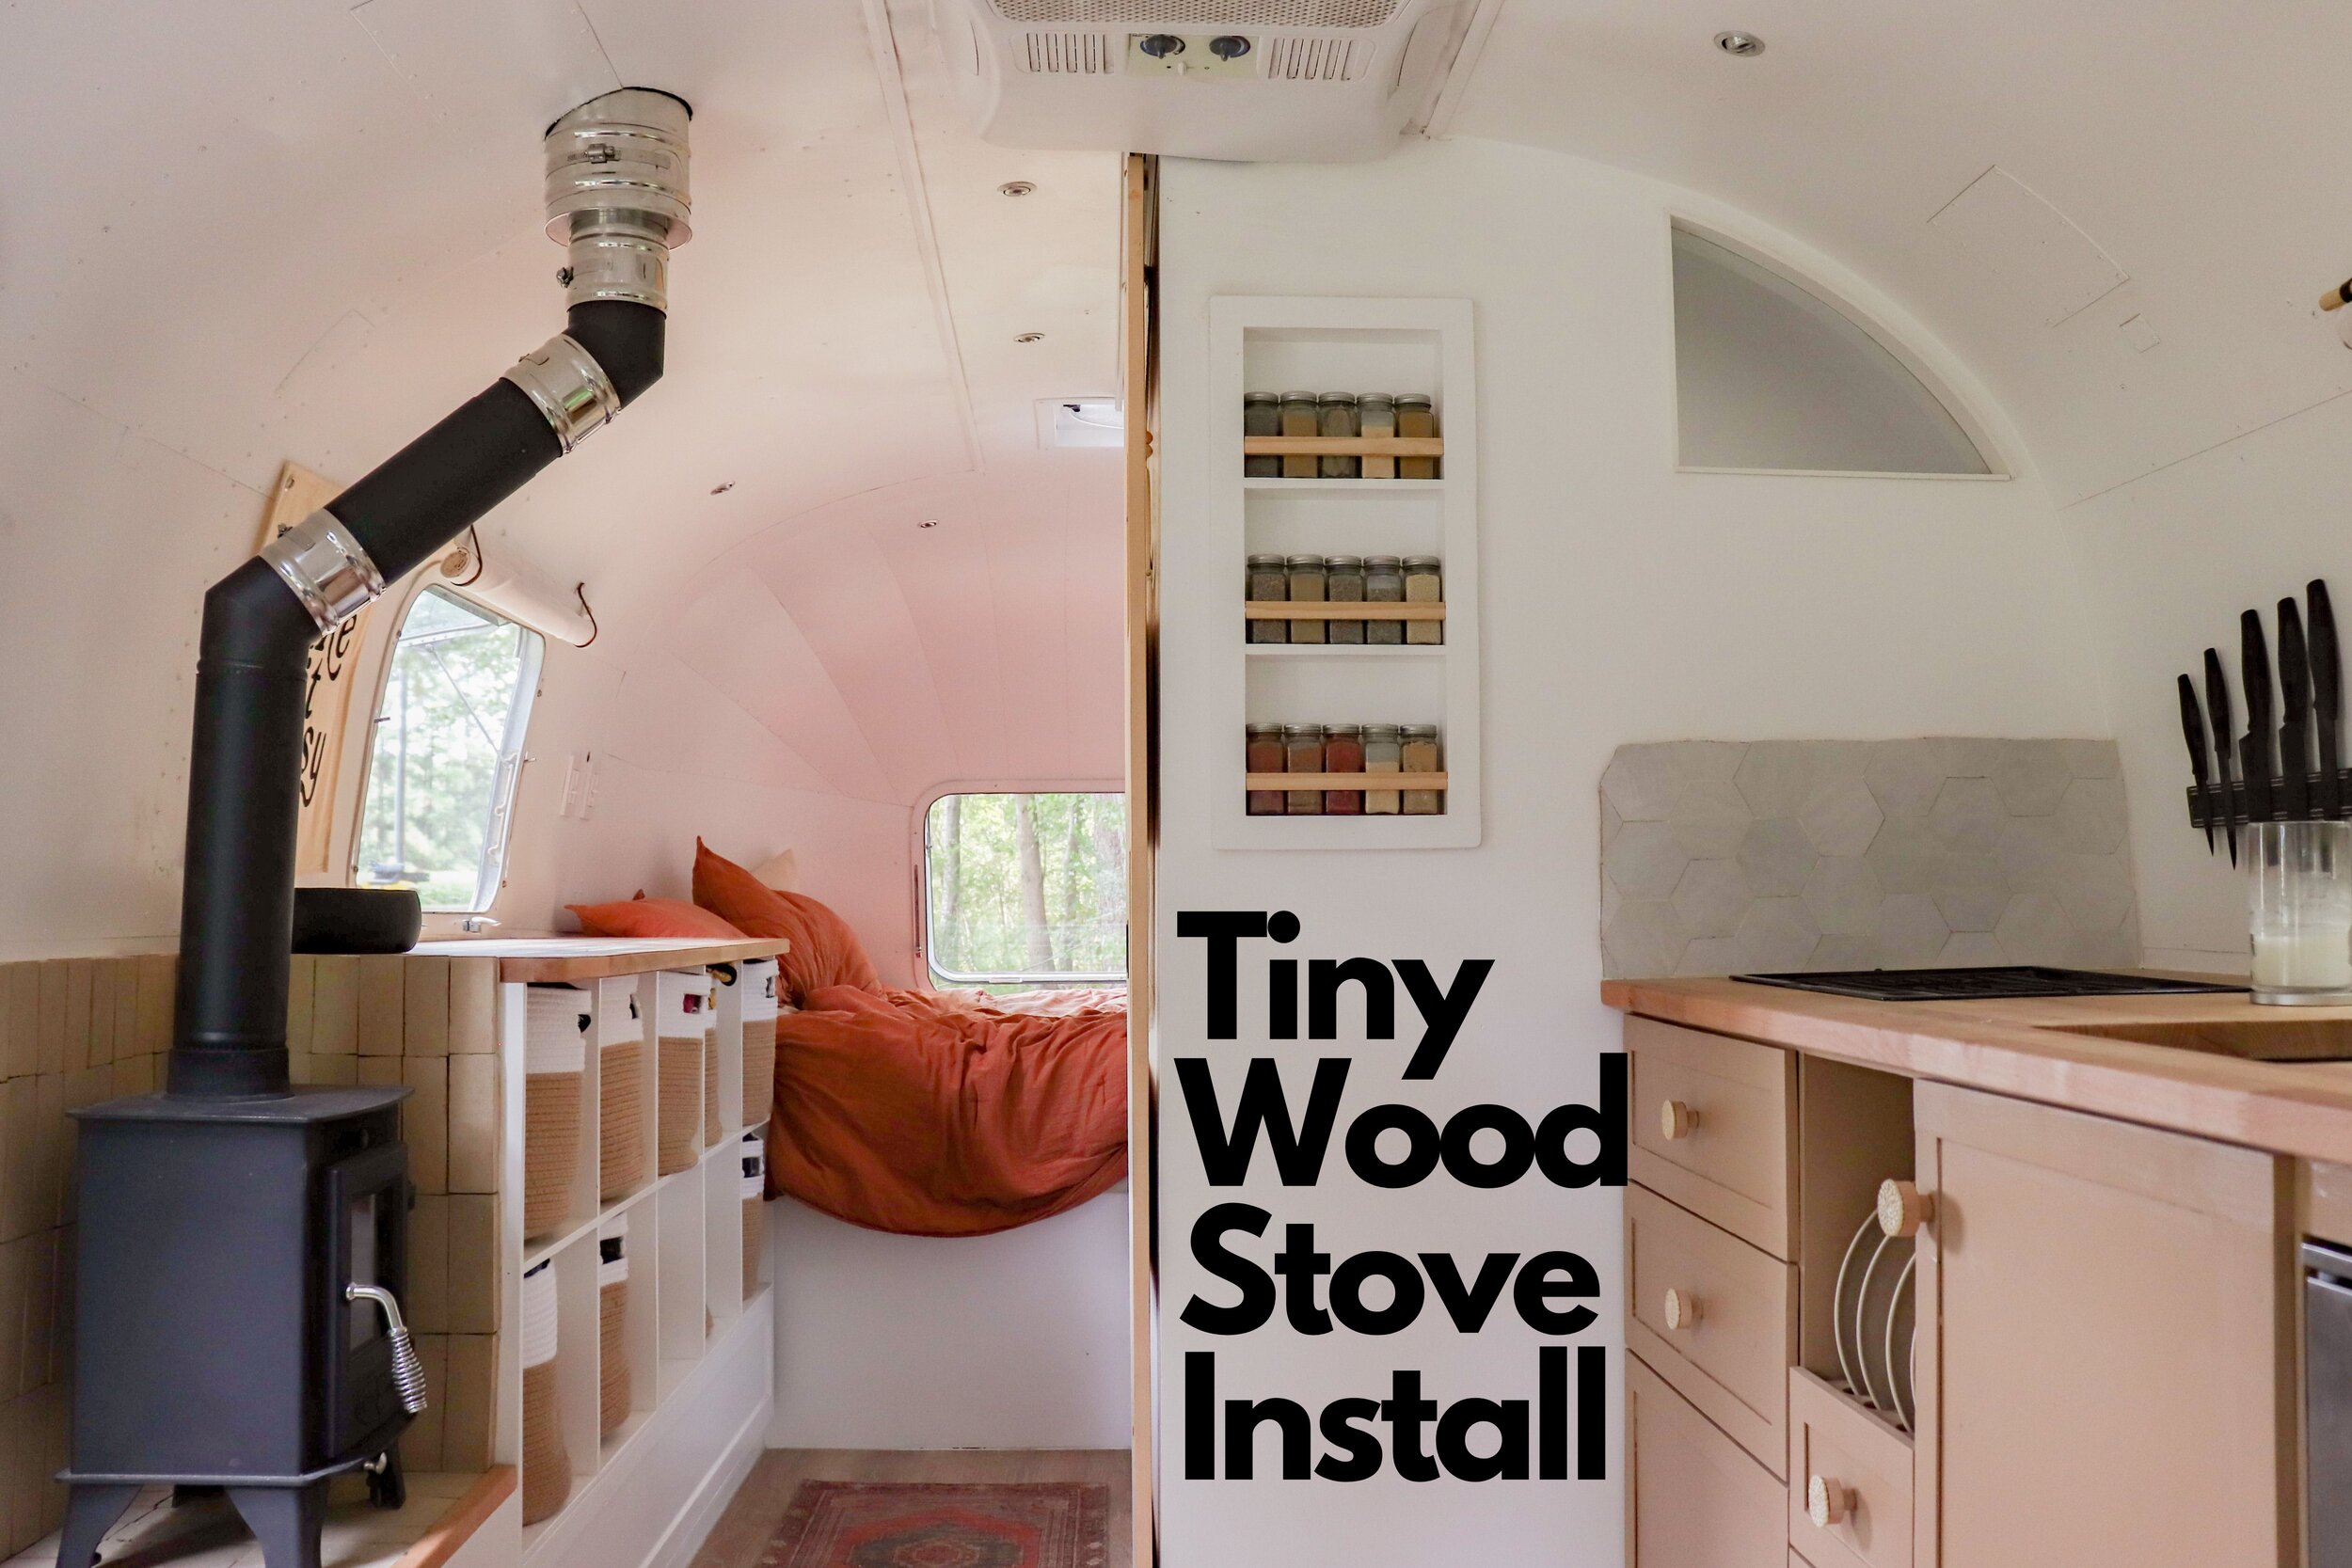
Installing the wood burning stove was a task we procrastinated and put off to be one of the very last projects at the end of this renovation. After spending 11 months incessantly working on restoring our 1973 Airstream Land Yacht, a knot grew in our stomachs about cutting a six inch hole in the newly polished 48 year old aluminum roof. After all, we did spend weeks on end making sure every hole and potential leaky rivet was removed and repaired, so it is safe to say that is where our initial anxieties stemmed from. But, the time finally came, the Airstream was nearly completed, and we began the installation.
This installation blog does not include building our cabinetry for the wood burning stove, nor does it include when we bolted down the stove to it’s location.
Tools Used:
6 inch hole saw (for airstreams you will need one that can cut into metal)
Drill
Dremel Tool
Grinder
Metal File
5/16” & 1/2” Ratchet
Dicor Self-Leveling Lap Sealant
Caulk Gun
Rivet Gun
Rivets


You’ll need to start off with the most daunting part of the install: cutting the hole. We started by mapping out where we wanted the flue to exit the Airstream. Remember, measure twice; cut once—take your time figuring out the placement of your flue, and make sure there are no wires behind the wall you are about to cut open.
Our Airstream had some limitations on where our flue could realistically exist without being too close to other things on our roof (i.e. AC unit, solar panels, and the exterior awning). In a perfect situation we wish we could have had our flue exit two or three inches closer the wall on the right, but you can’t have it all in such a tiny space!
Once you have your flue placement picked out, this is where you will need your drill and your hole saw. Choose your hole saw based on your flue size/setup. We used a 6” hole saw and still needed to use a dremel tool to make the hole fit the double-wall flue perfectly. I blame the additional hole editing on having curved walls, as we could not get the hole saw to sit at the correct angle for how the flue would enter and sit.
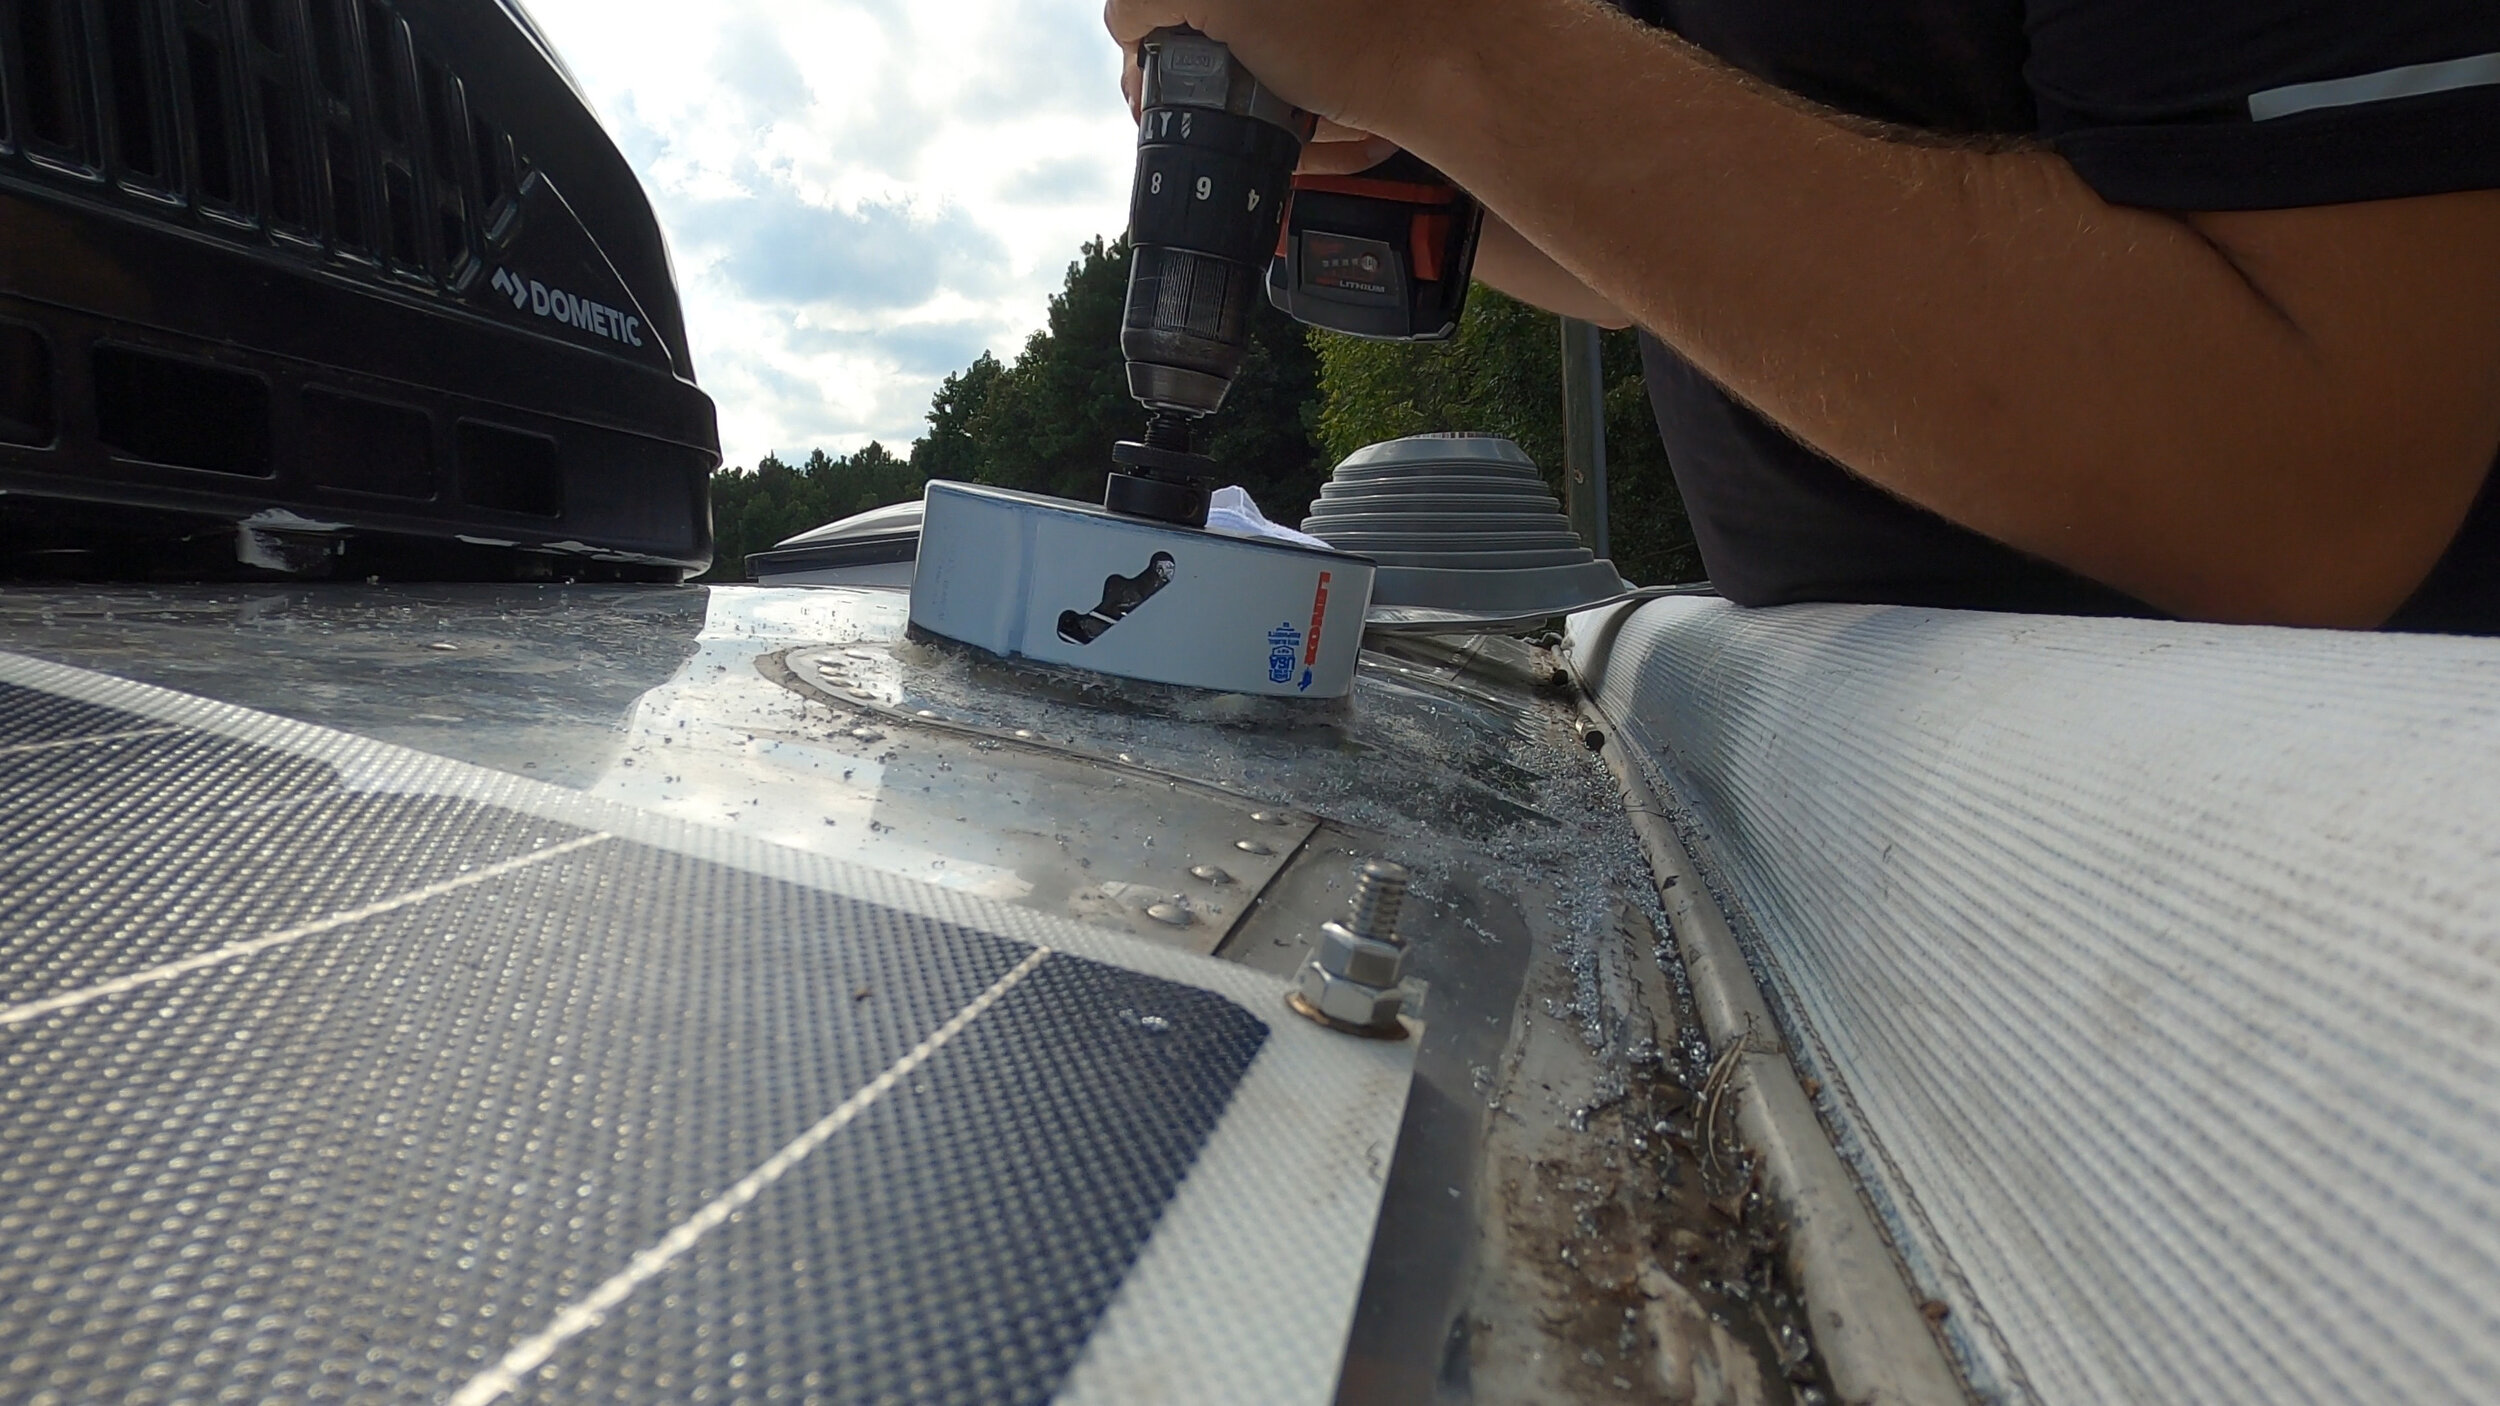
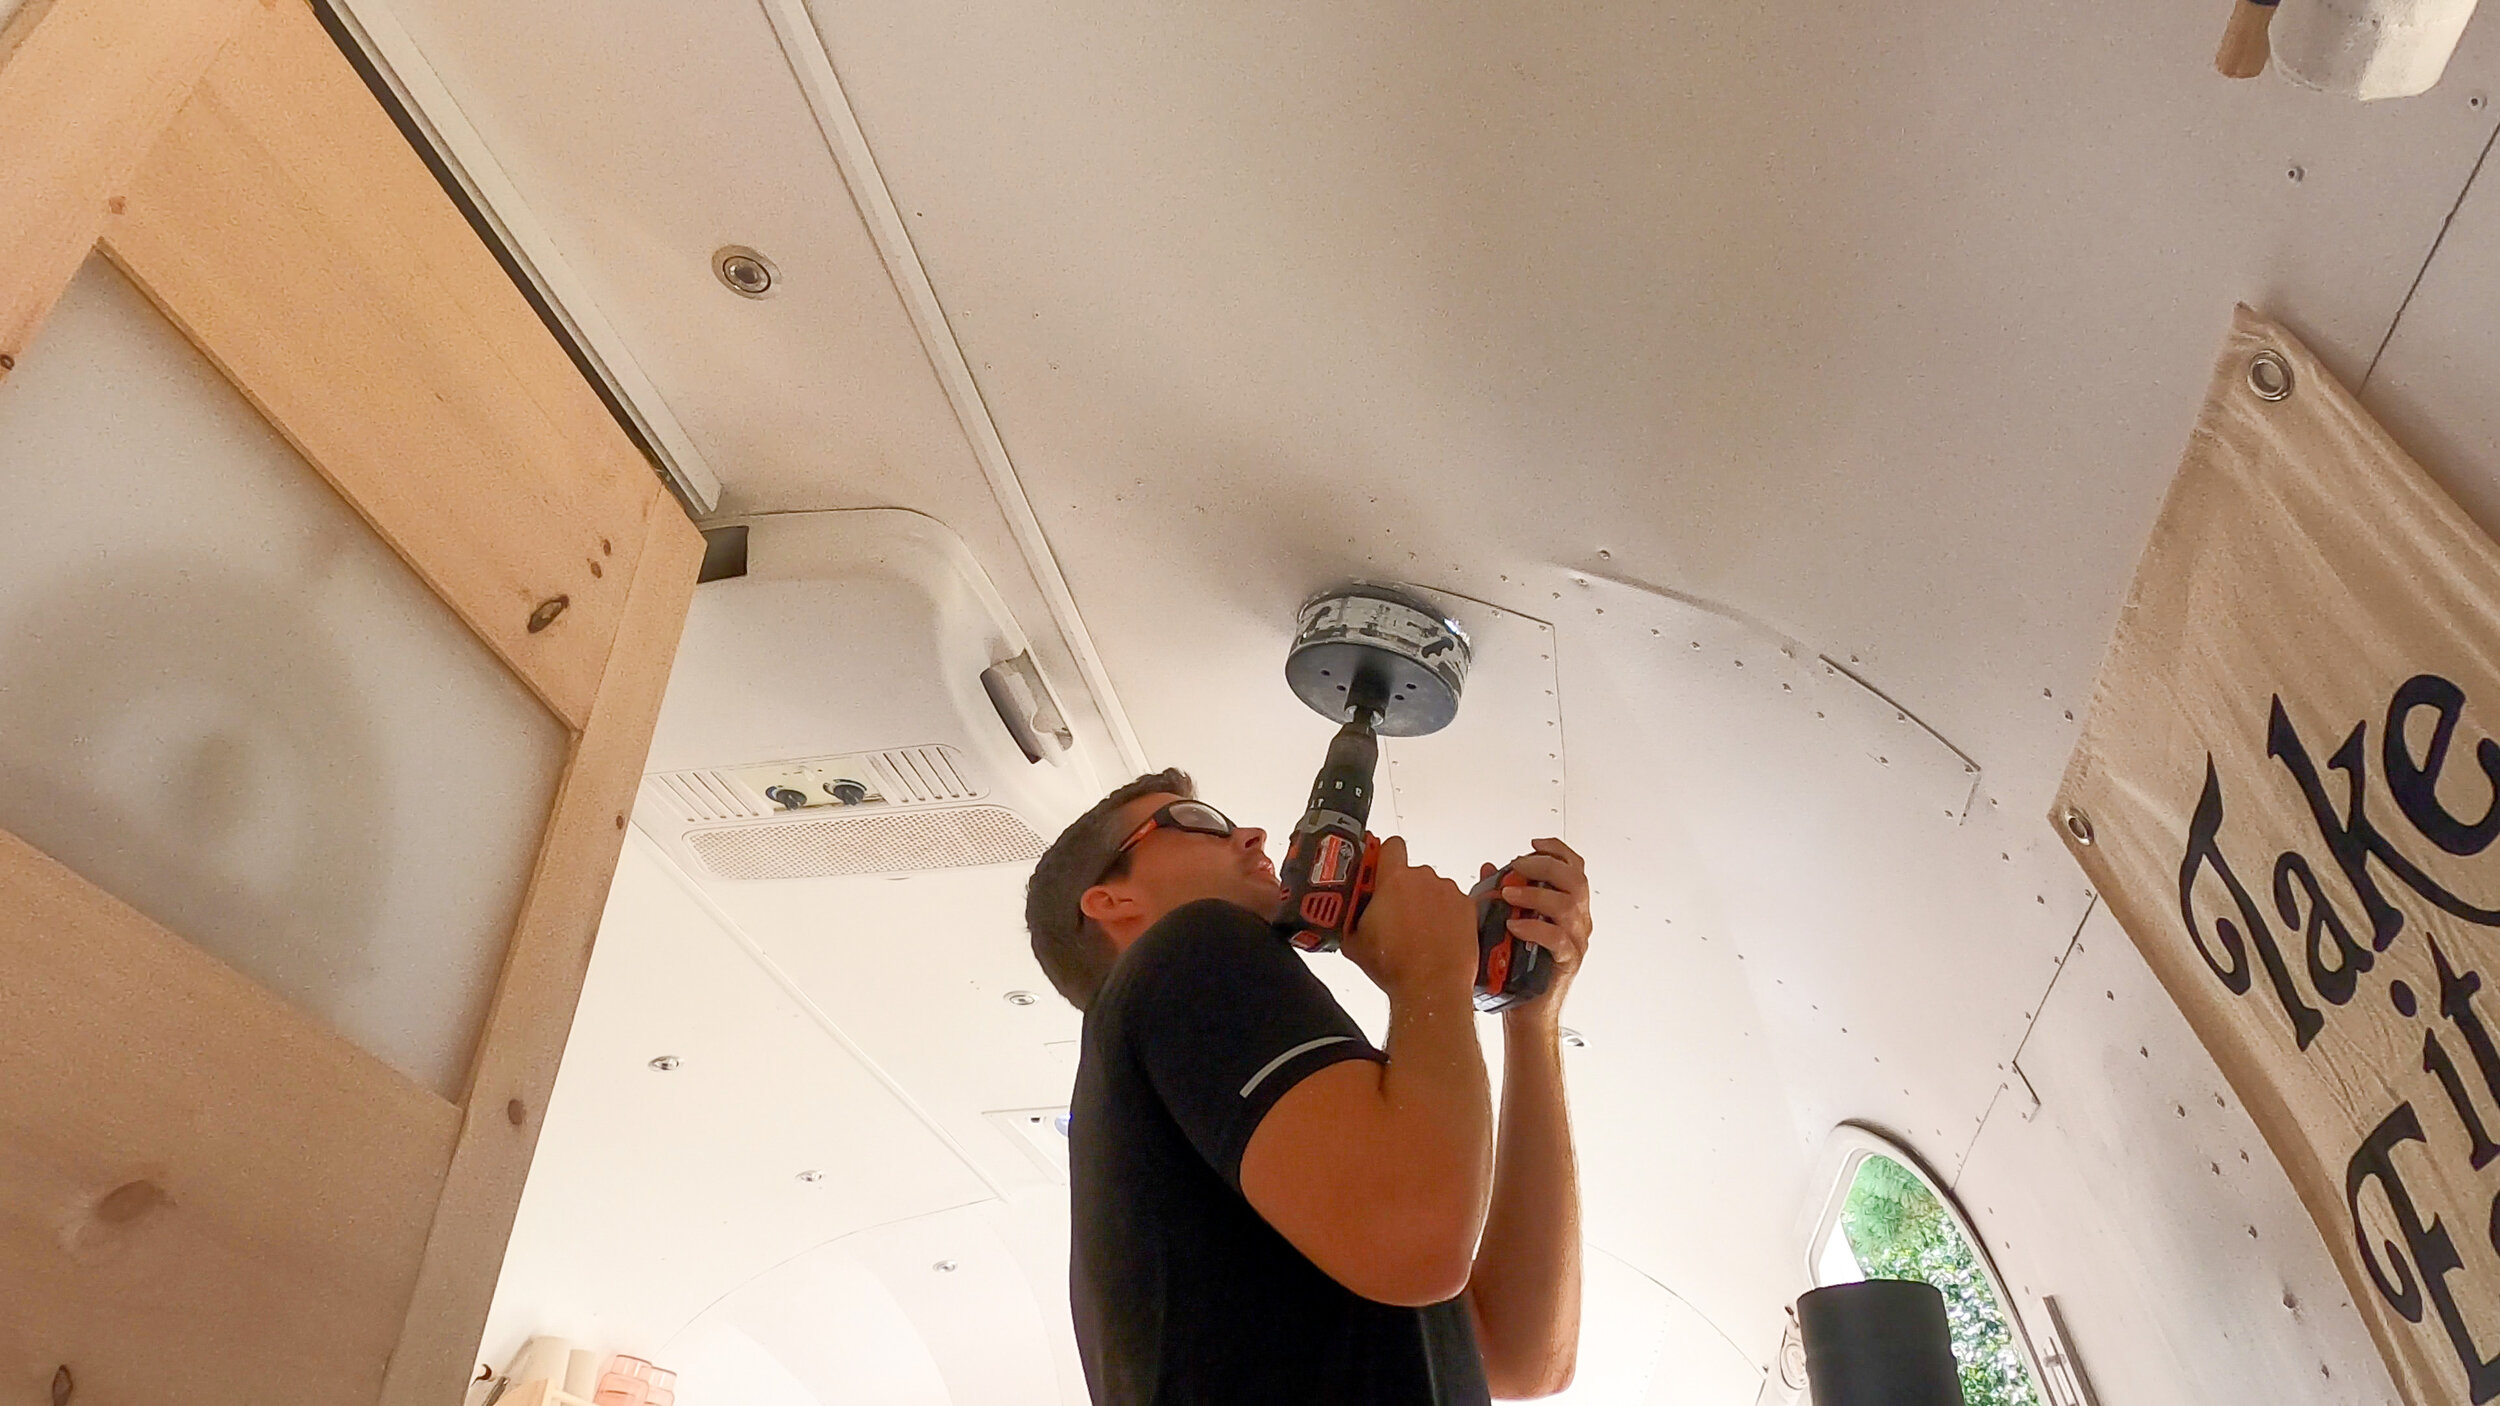
Once the flue hole is cut out, you can take a deep breathe because the worst of the install is over!

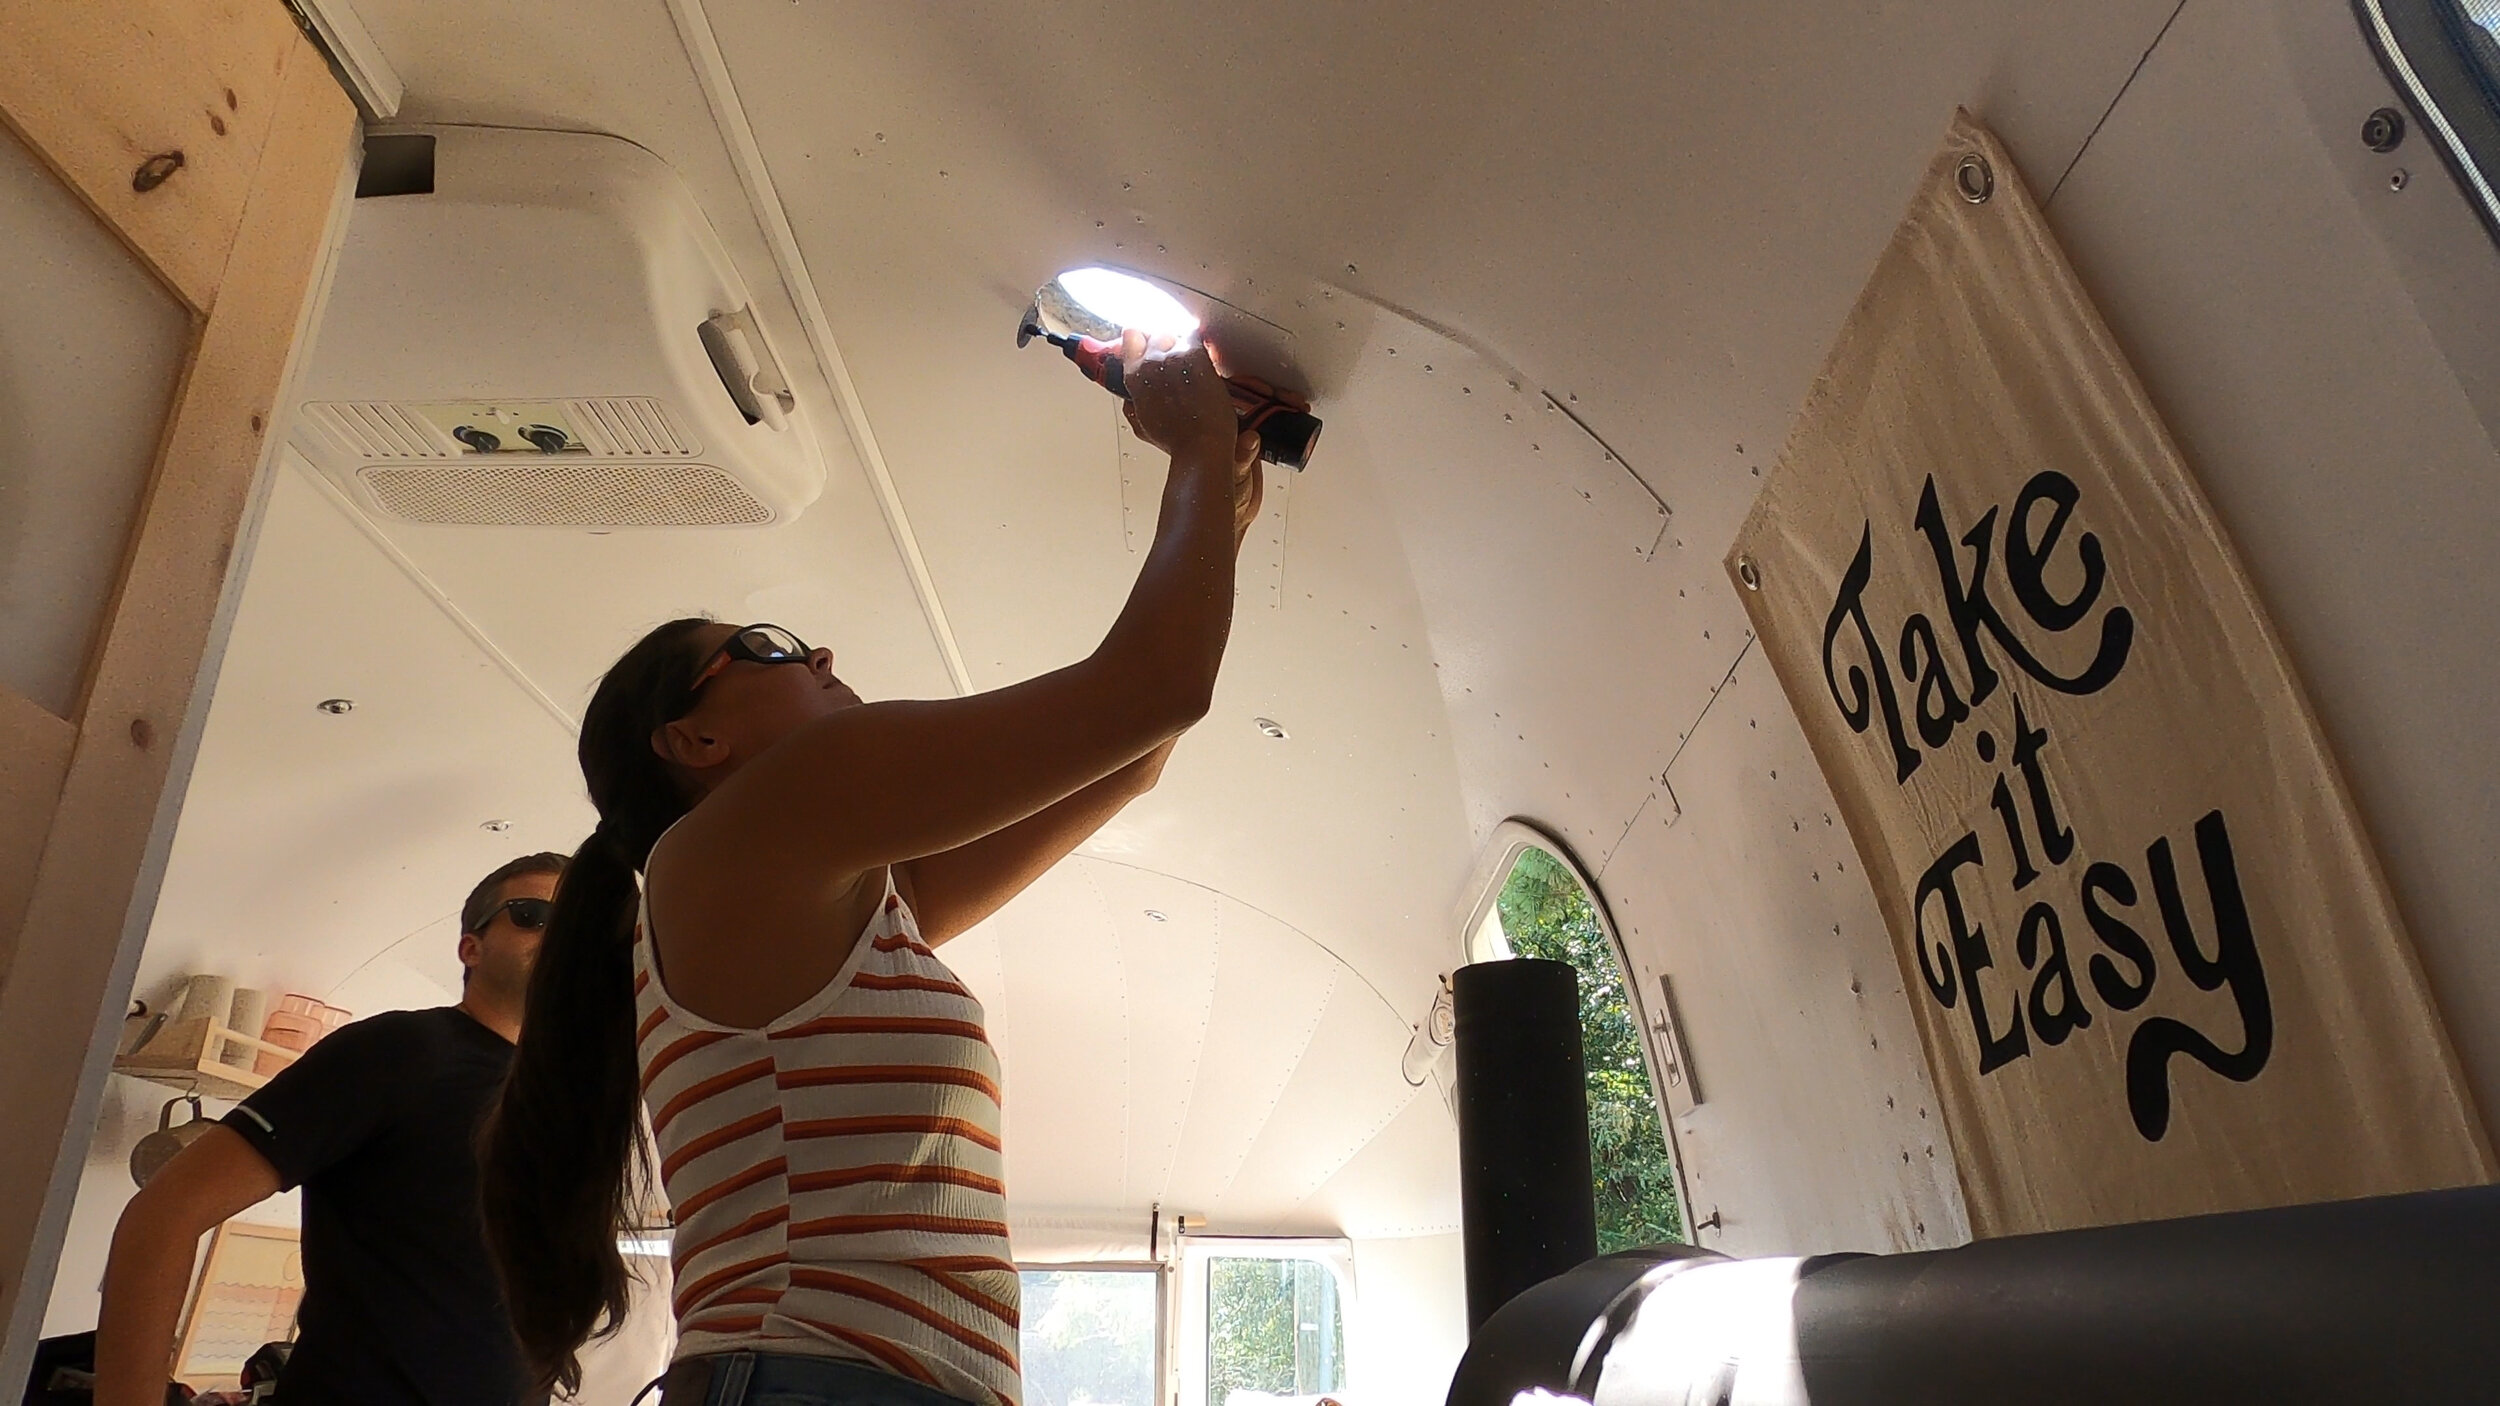
At this point, we did a test fit with our double-wall insulated flue piece, to make sure it fit nicely in our newly cut out hole. If you are working with someone to install your wood-burning stove, this would also be a good time for one person to climb up a the ladder and make a mark on the exterior portion of the flue for what ever height you want your interior/exterior double wall flue mounted.
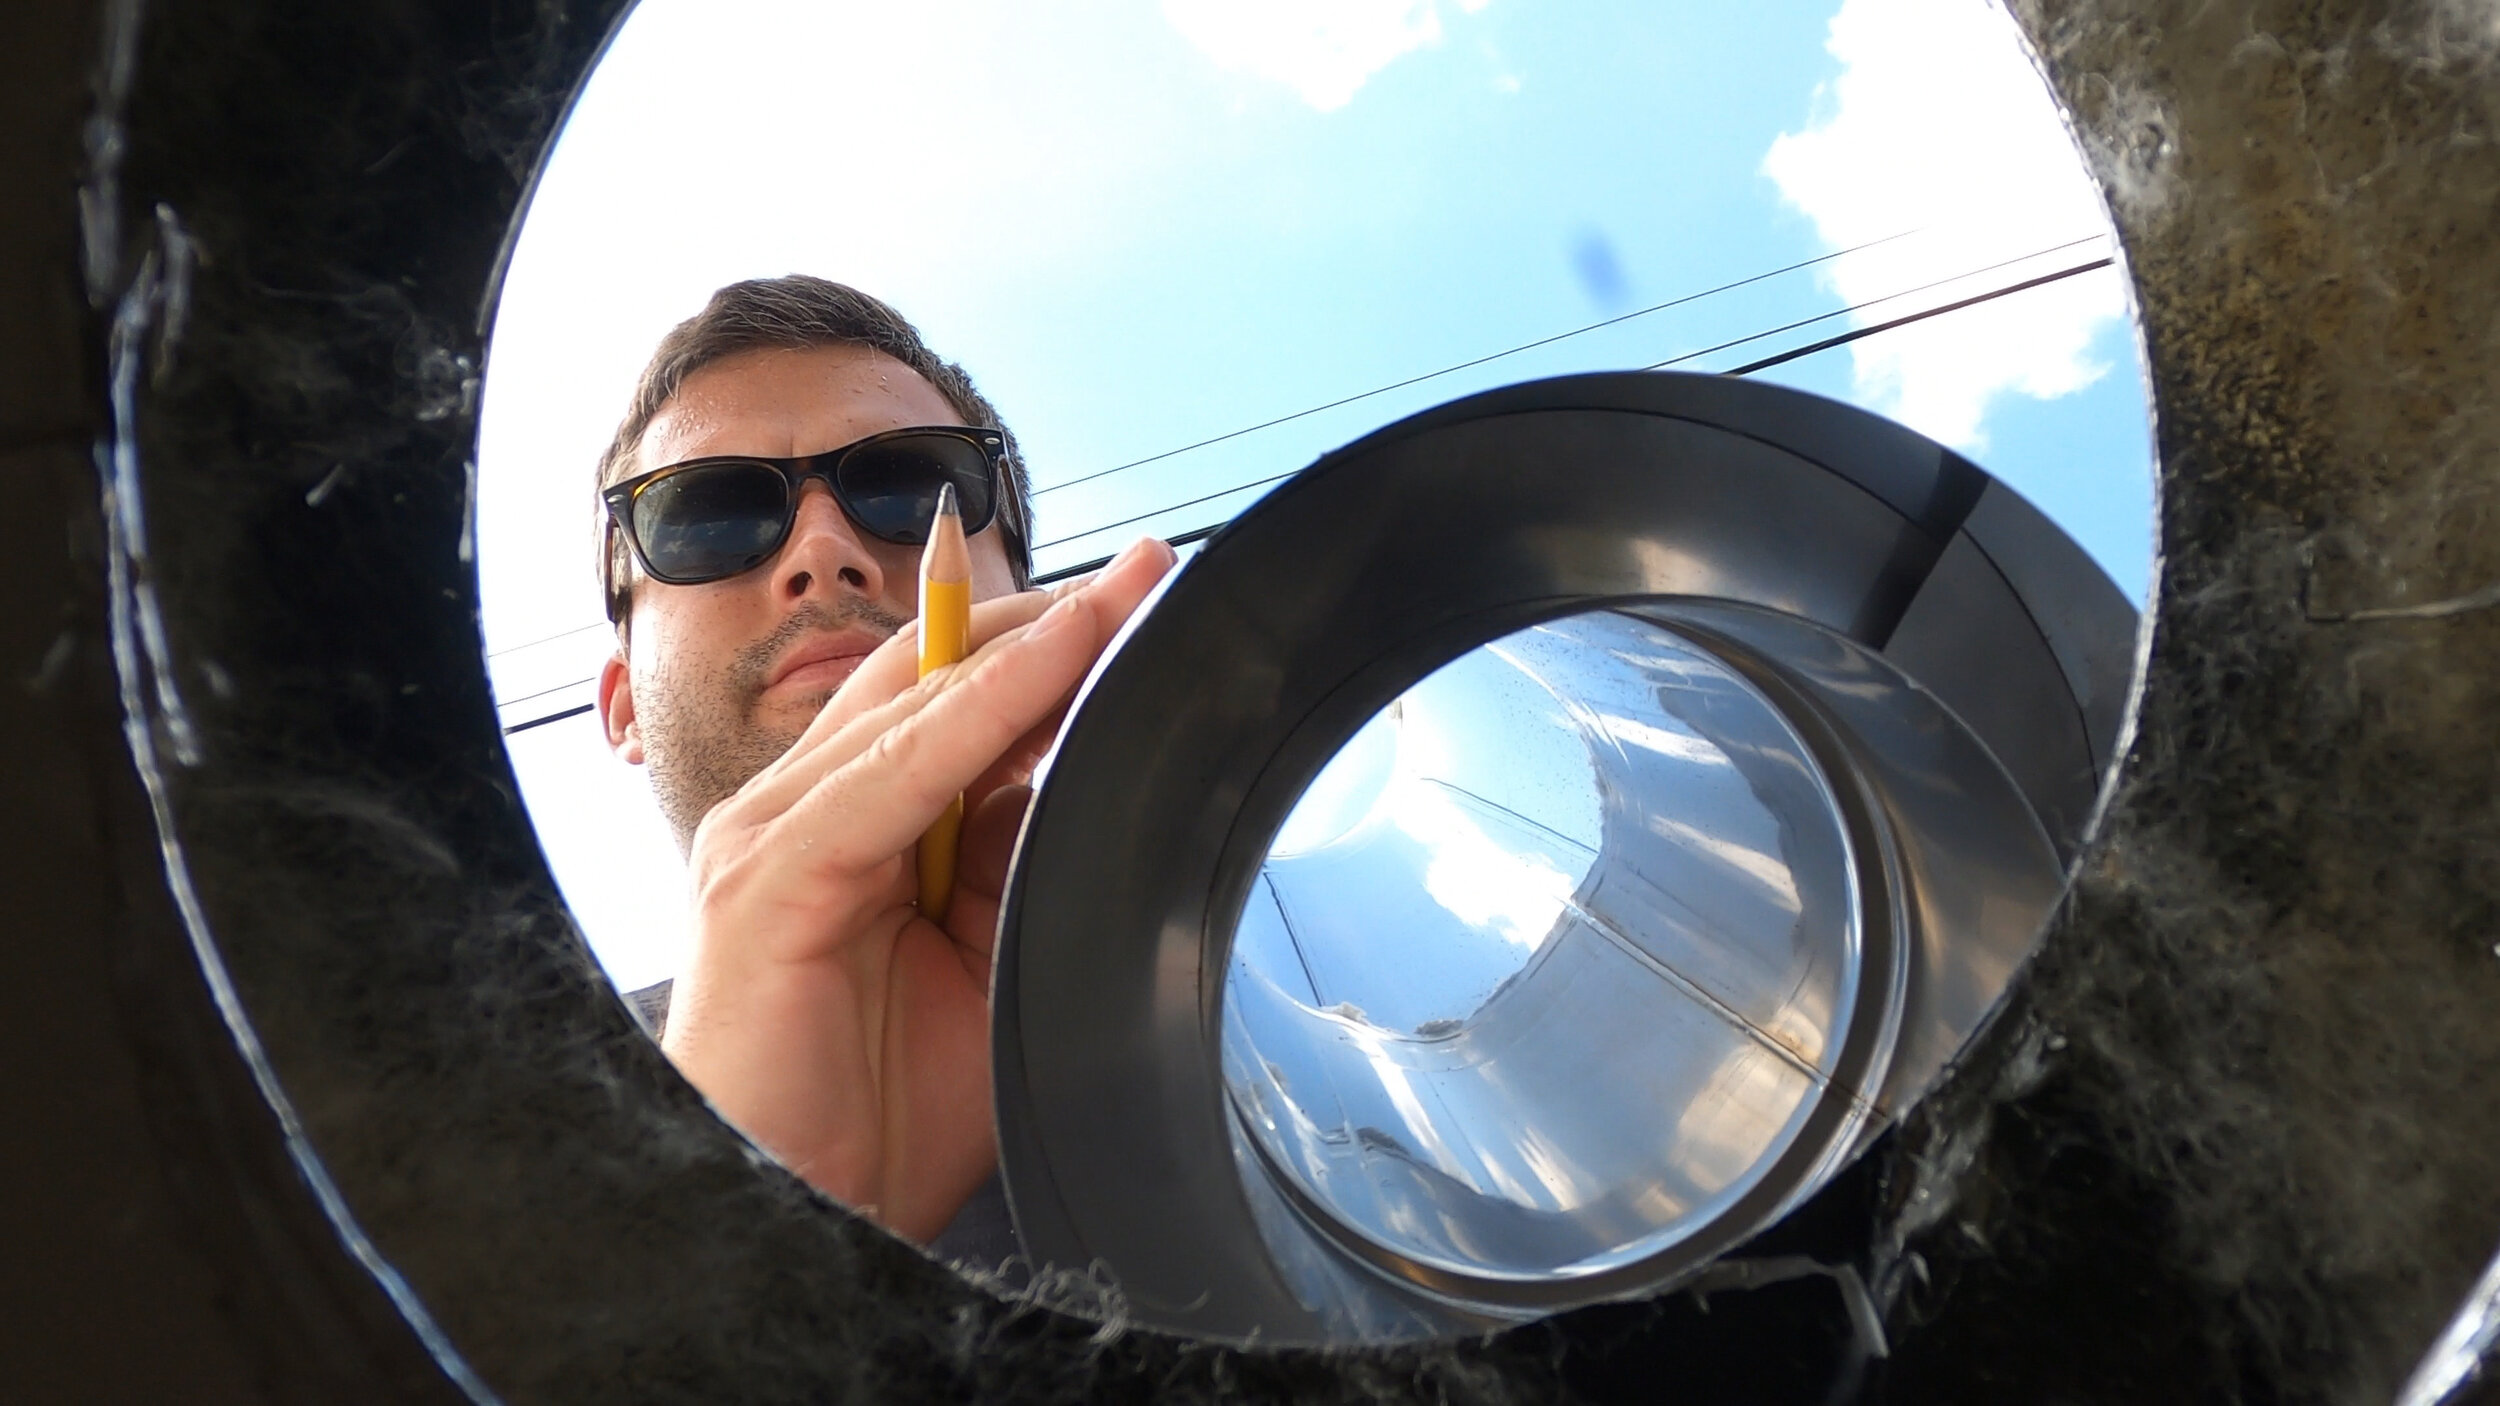

Important note: The hole for the flue does not need to be perfect! This is something we stressed about for a good bit before starting. There is a trim plate for the ceiling once you’re finished installing the flue, so do not focus too much about making the cut out hole “perfect”, as it will be covered anyway!

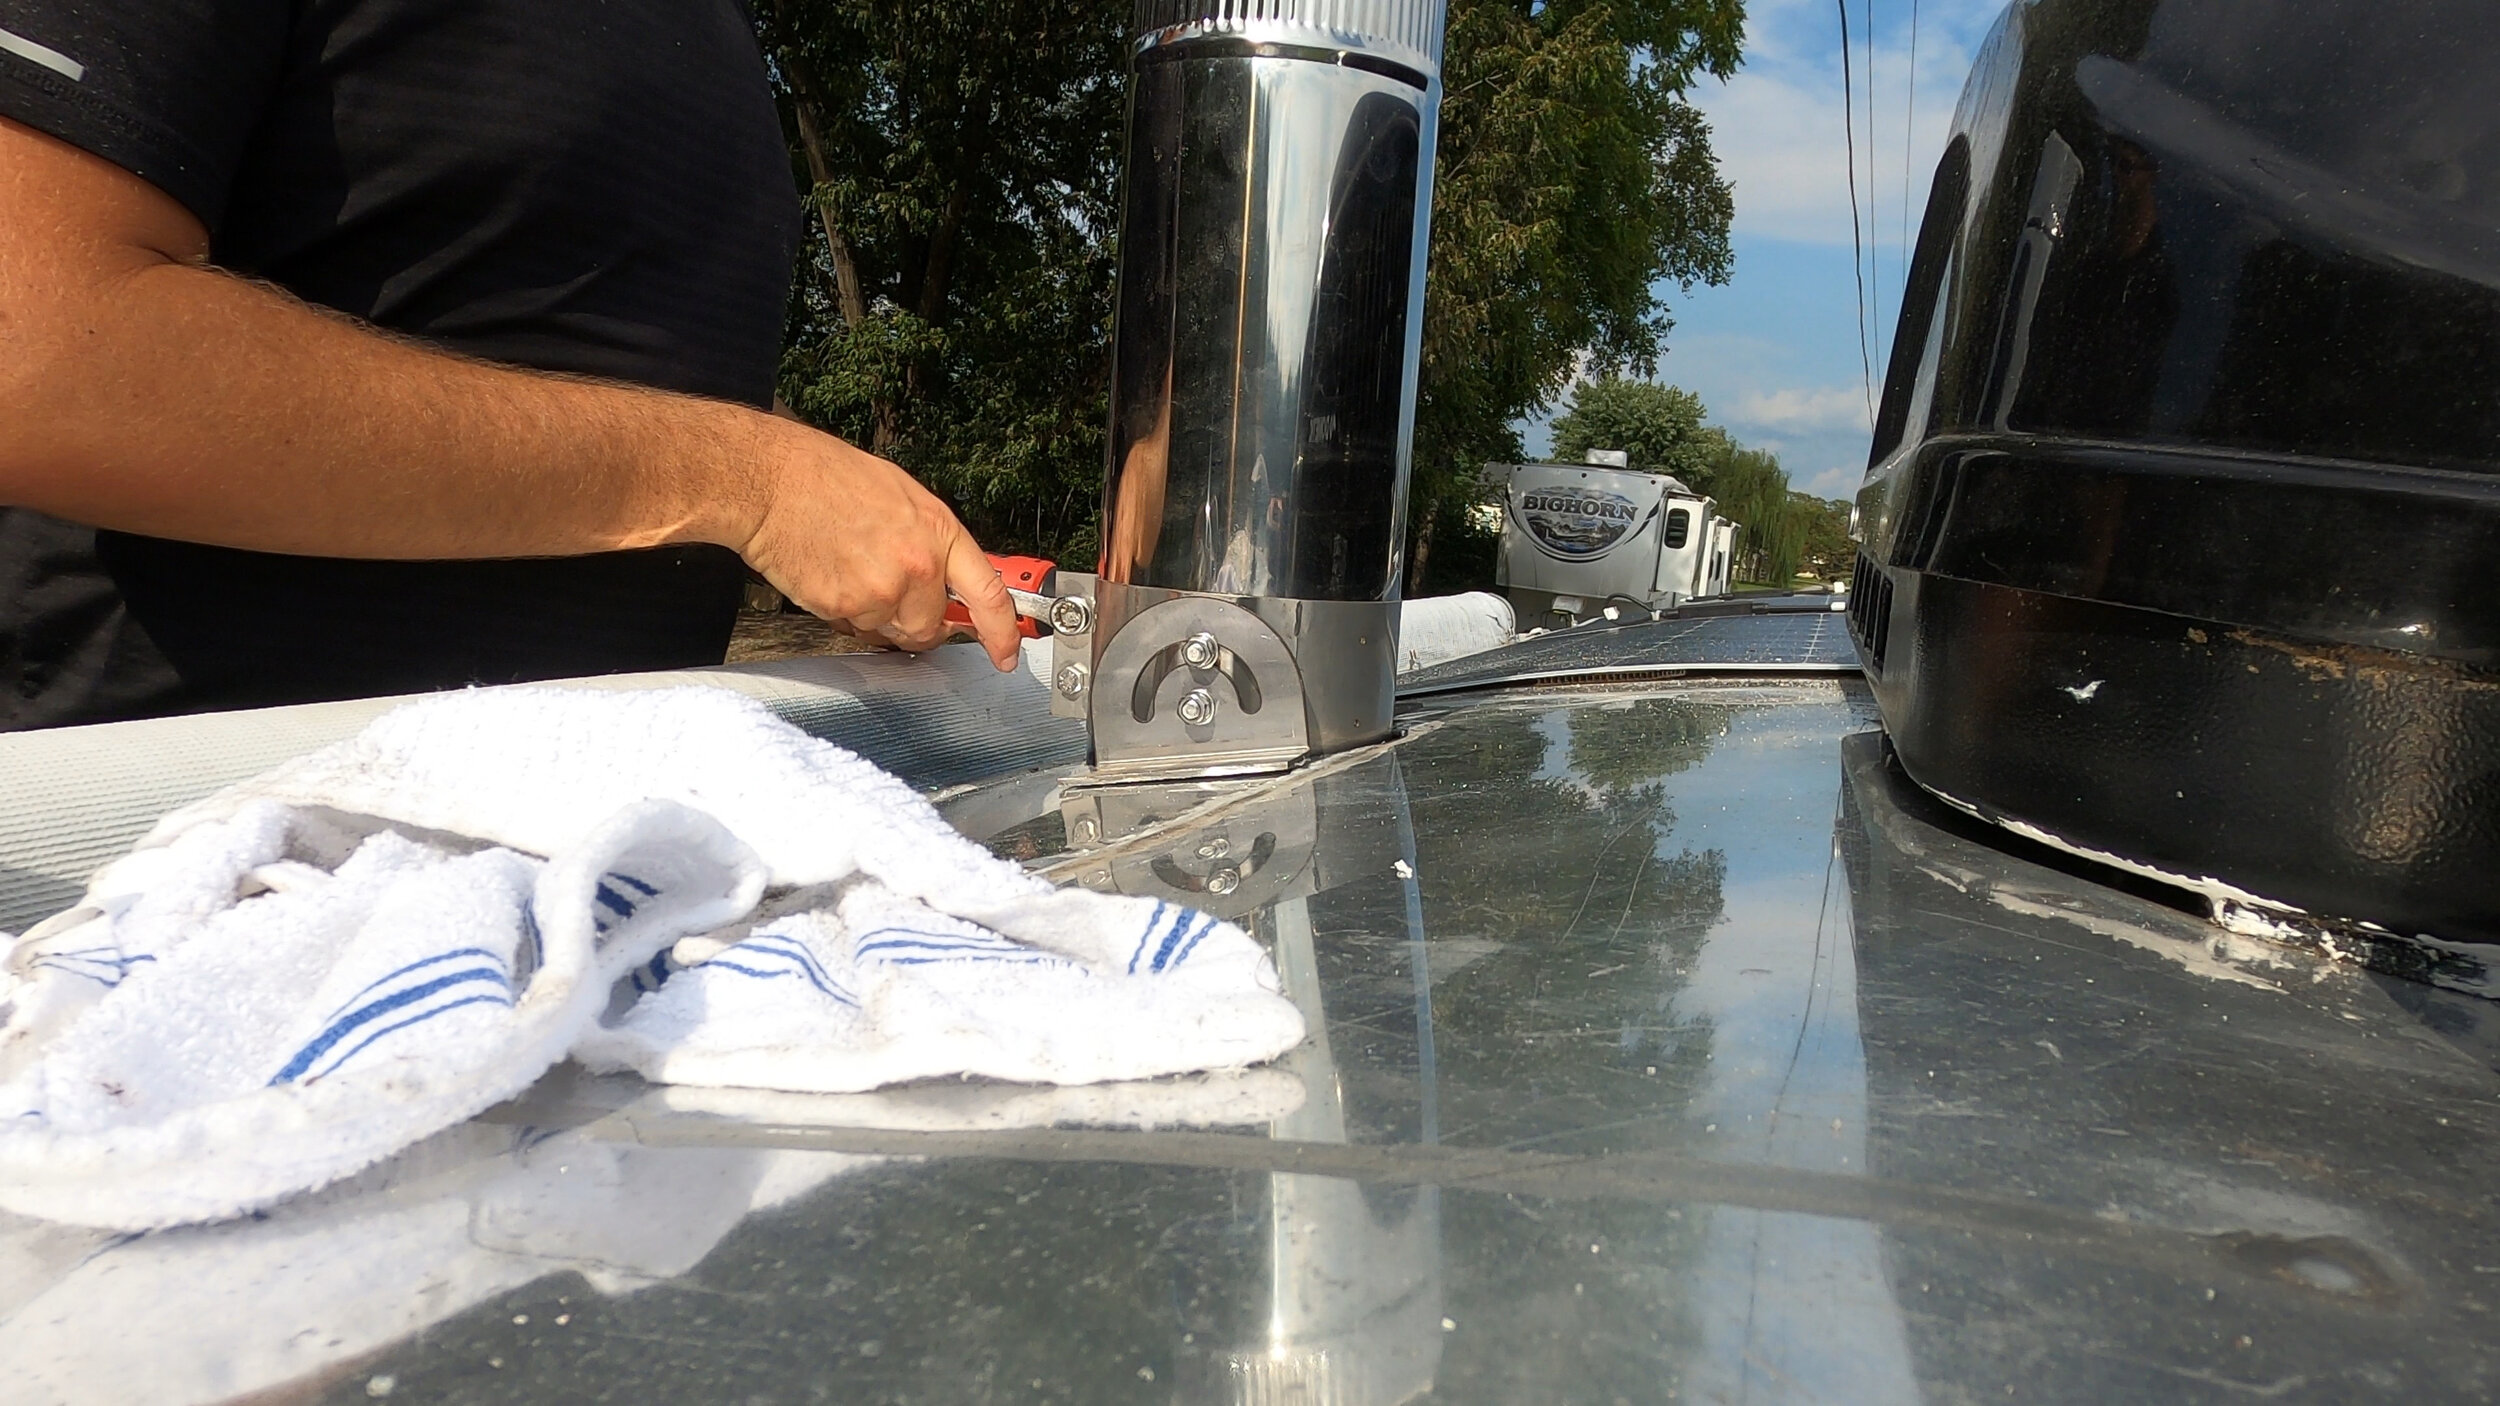
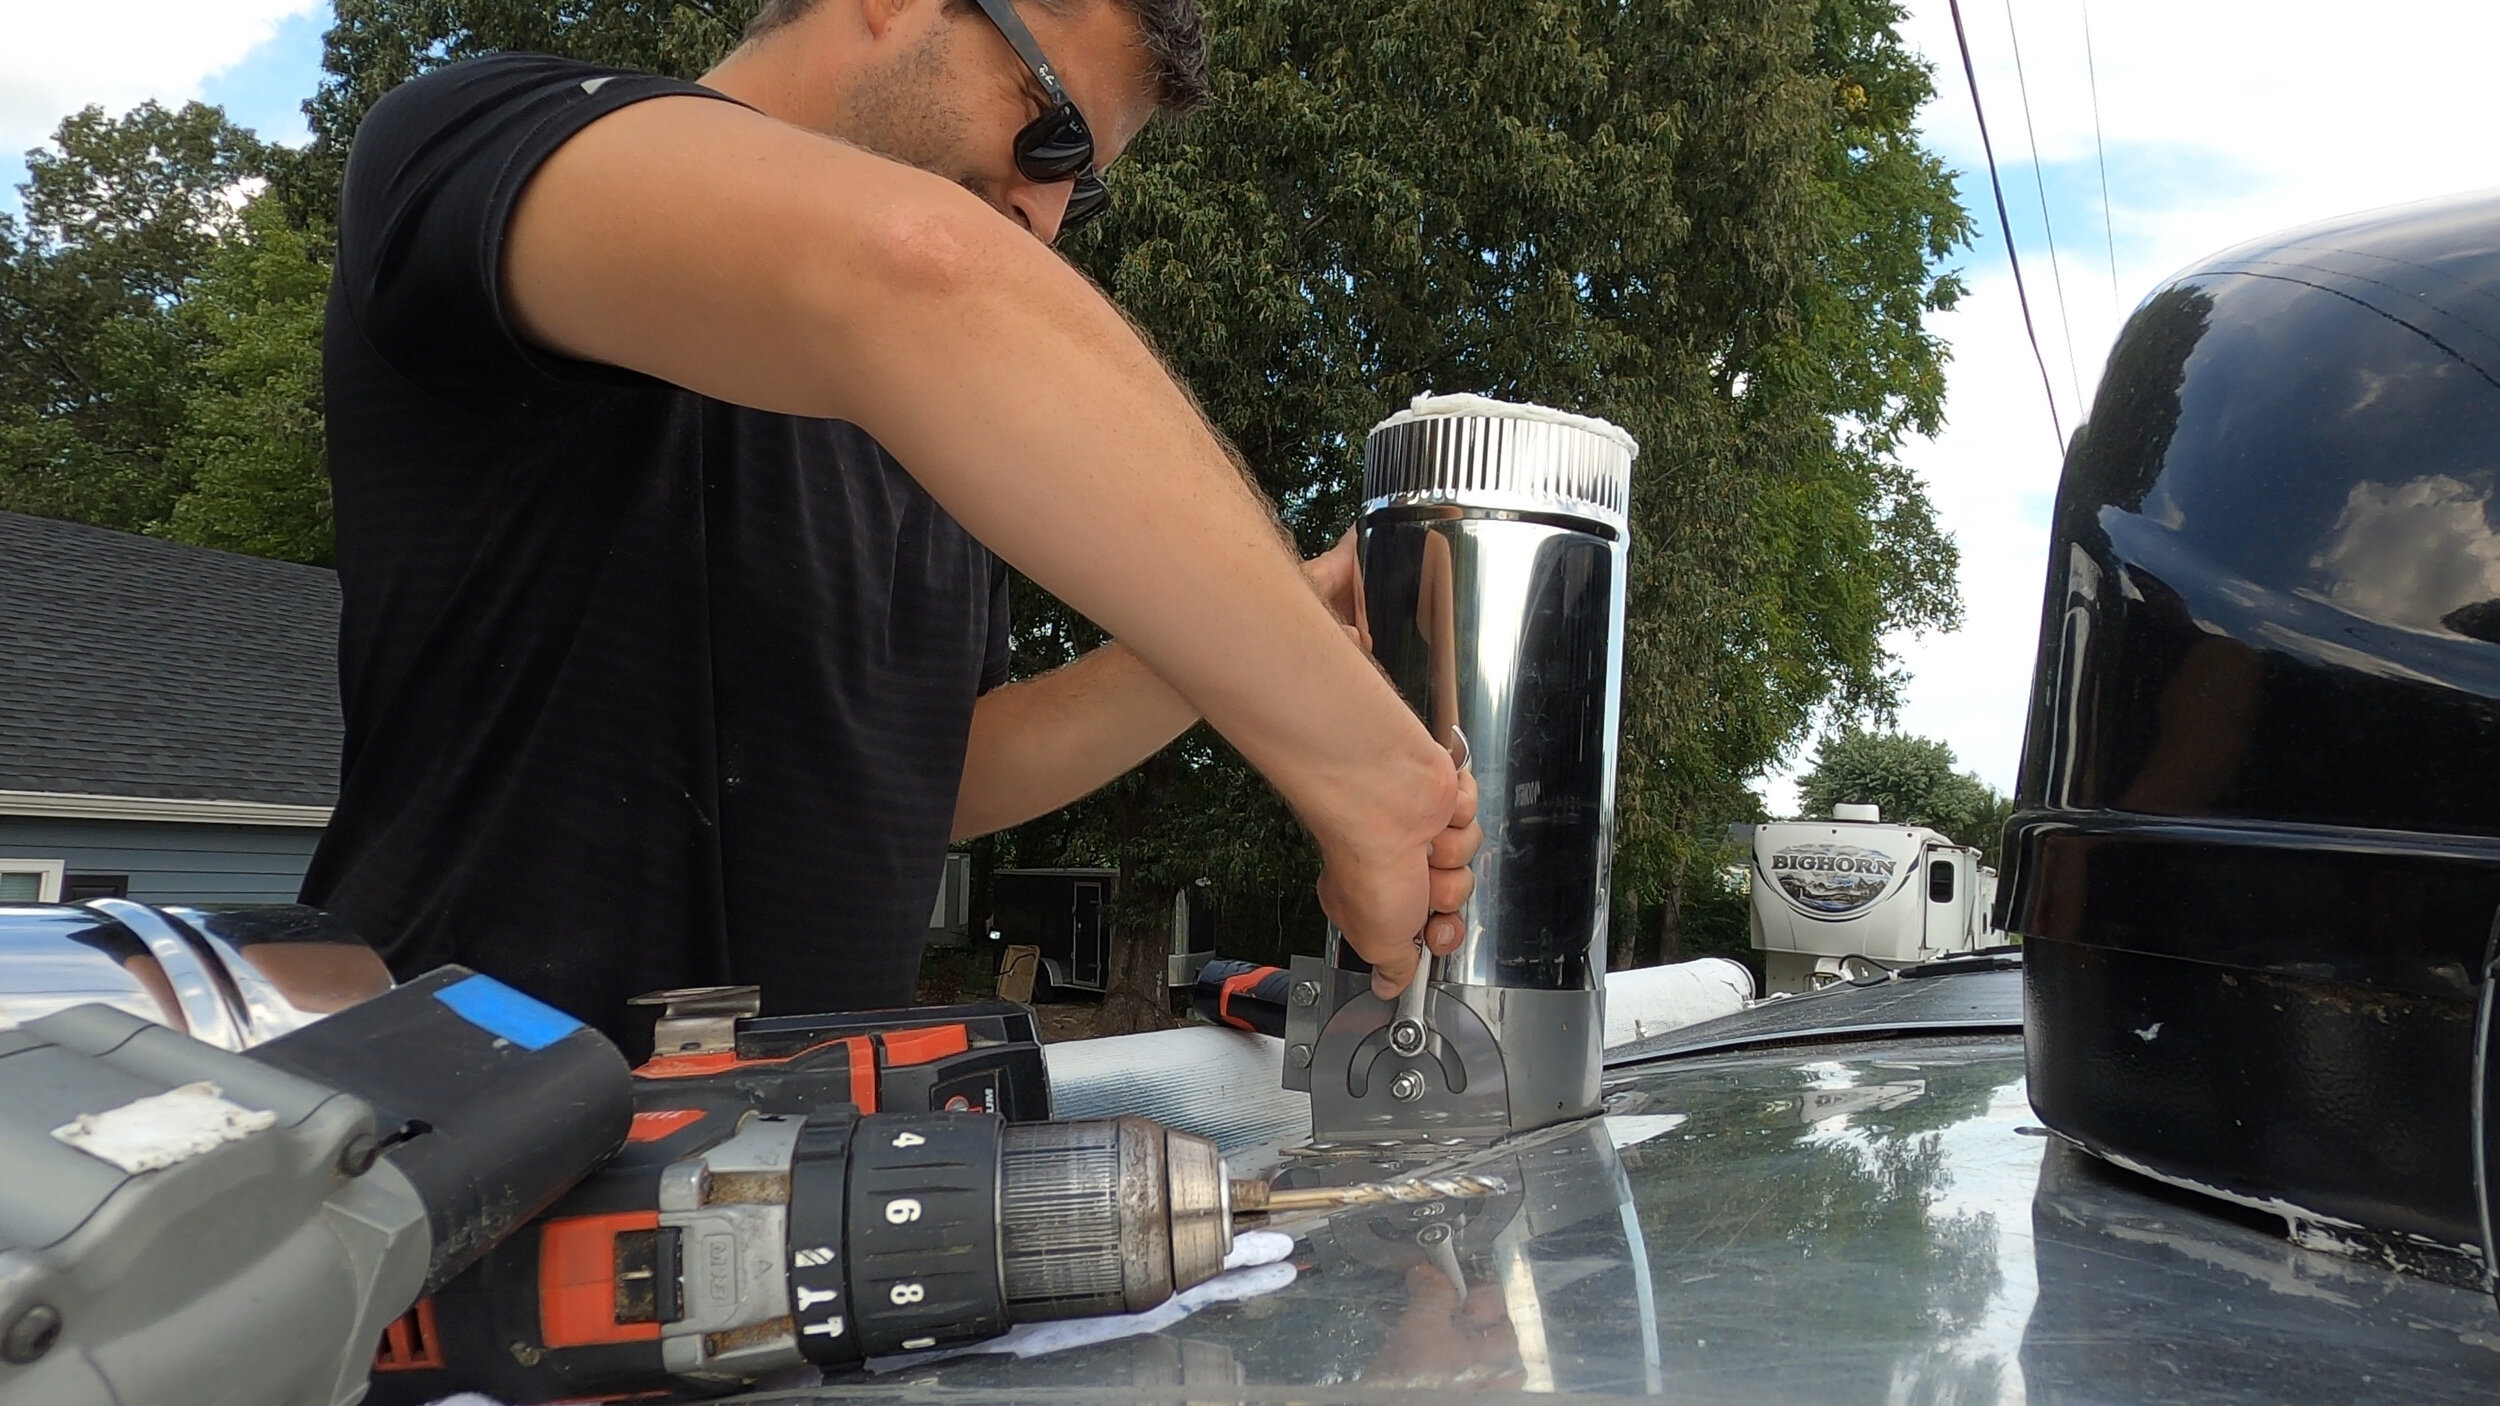
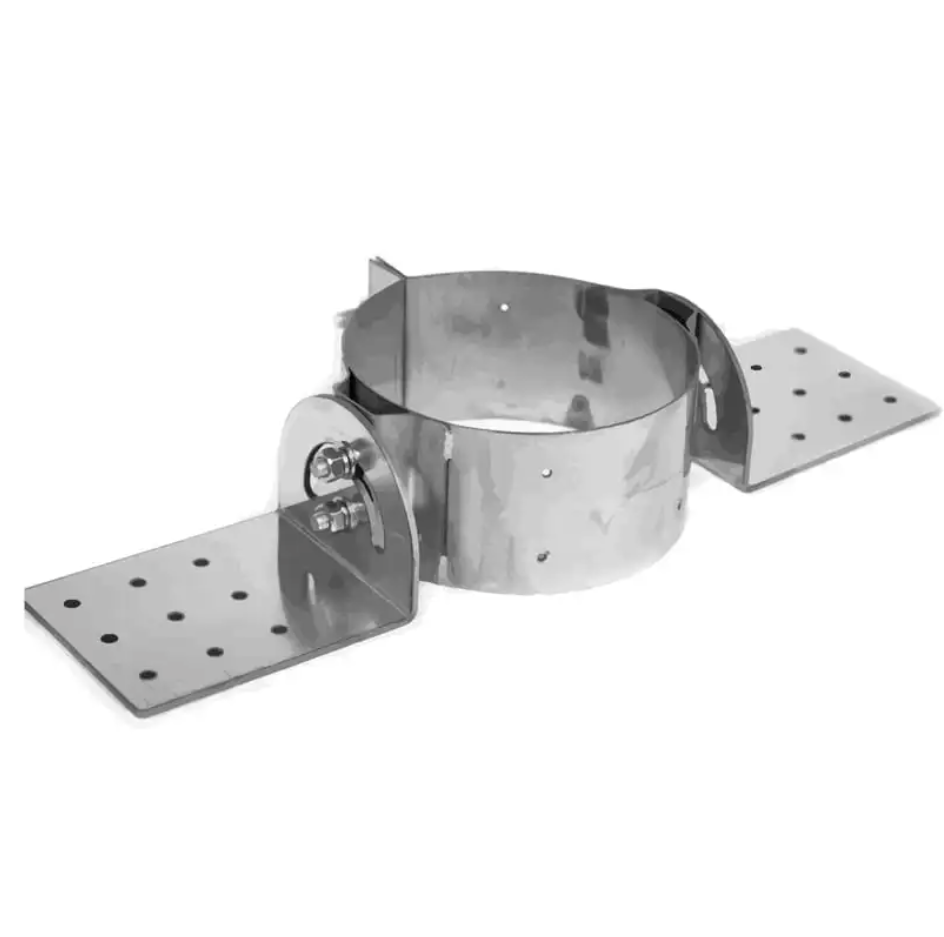
Now that we had an idea of where we wanted our double-wall flue to sit while extending from the exterior to the interior, we can begin mounting the roof support bracket. We had to make a slight change to our roof bracket because of the way we mounted it (it did not fit under the silicone gasket), so we used a grinder and omitted two of the rows of mounting holes on the “feet” of the bracket.
Editing the bracket feet was the longest part of the bracket installation. From that point, we riveted the bracket in place, and then used a wrench to tighten the support bracket into place and around the pipe.
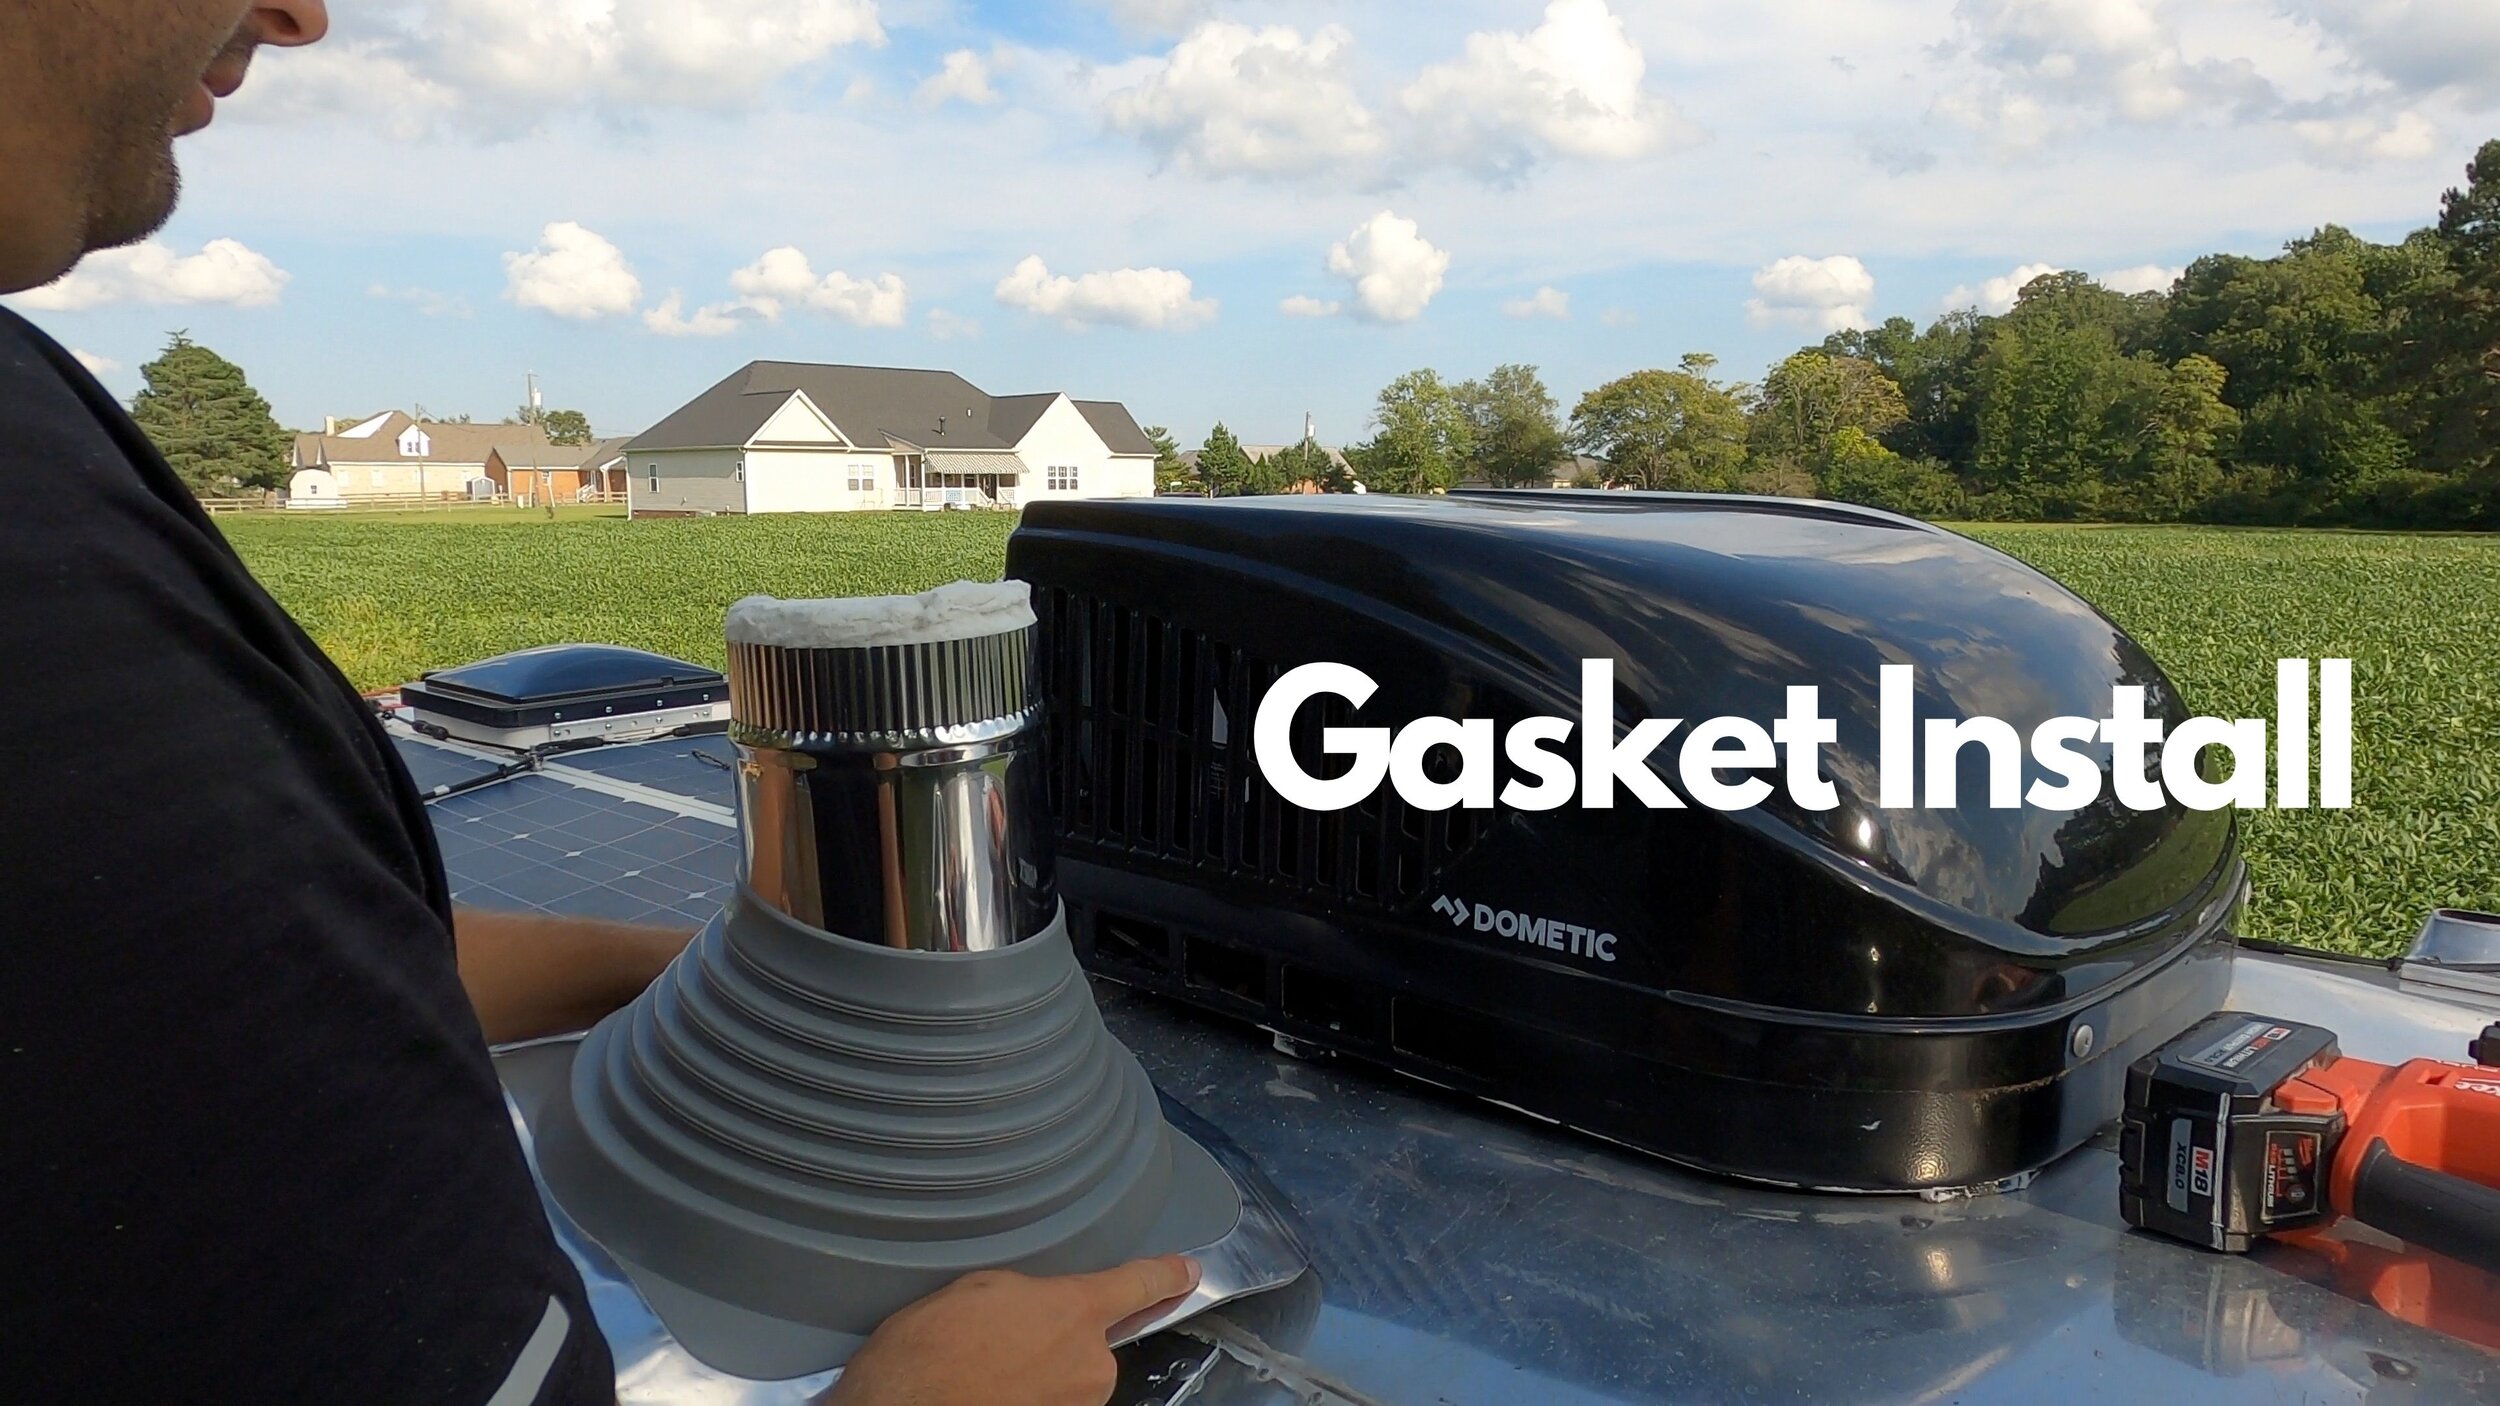
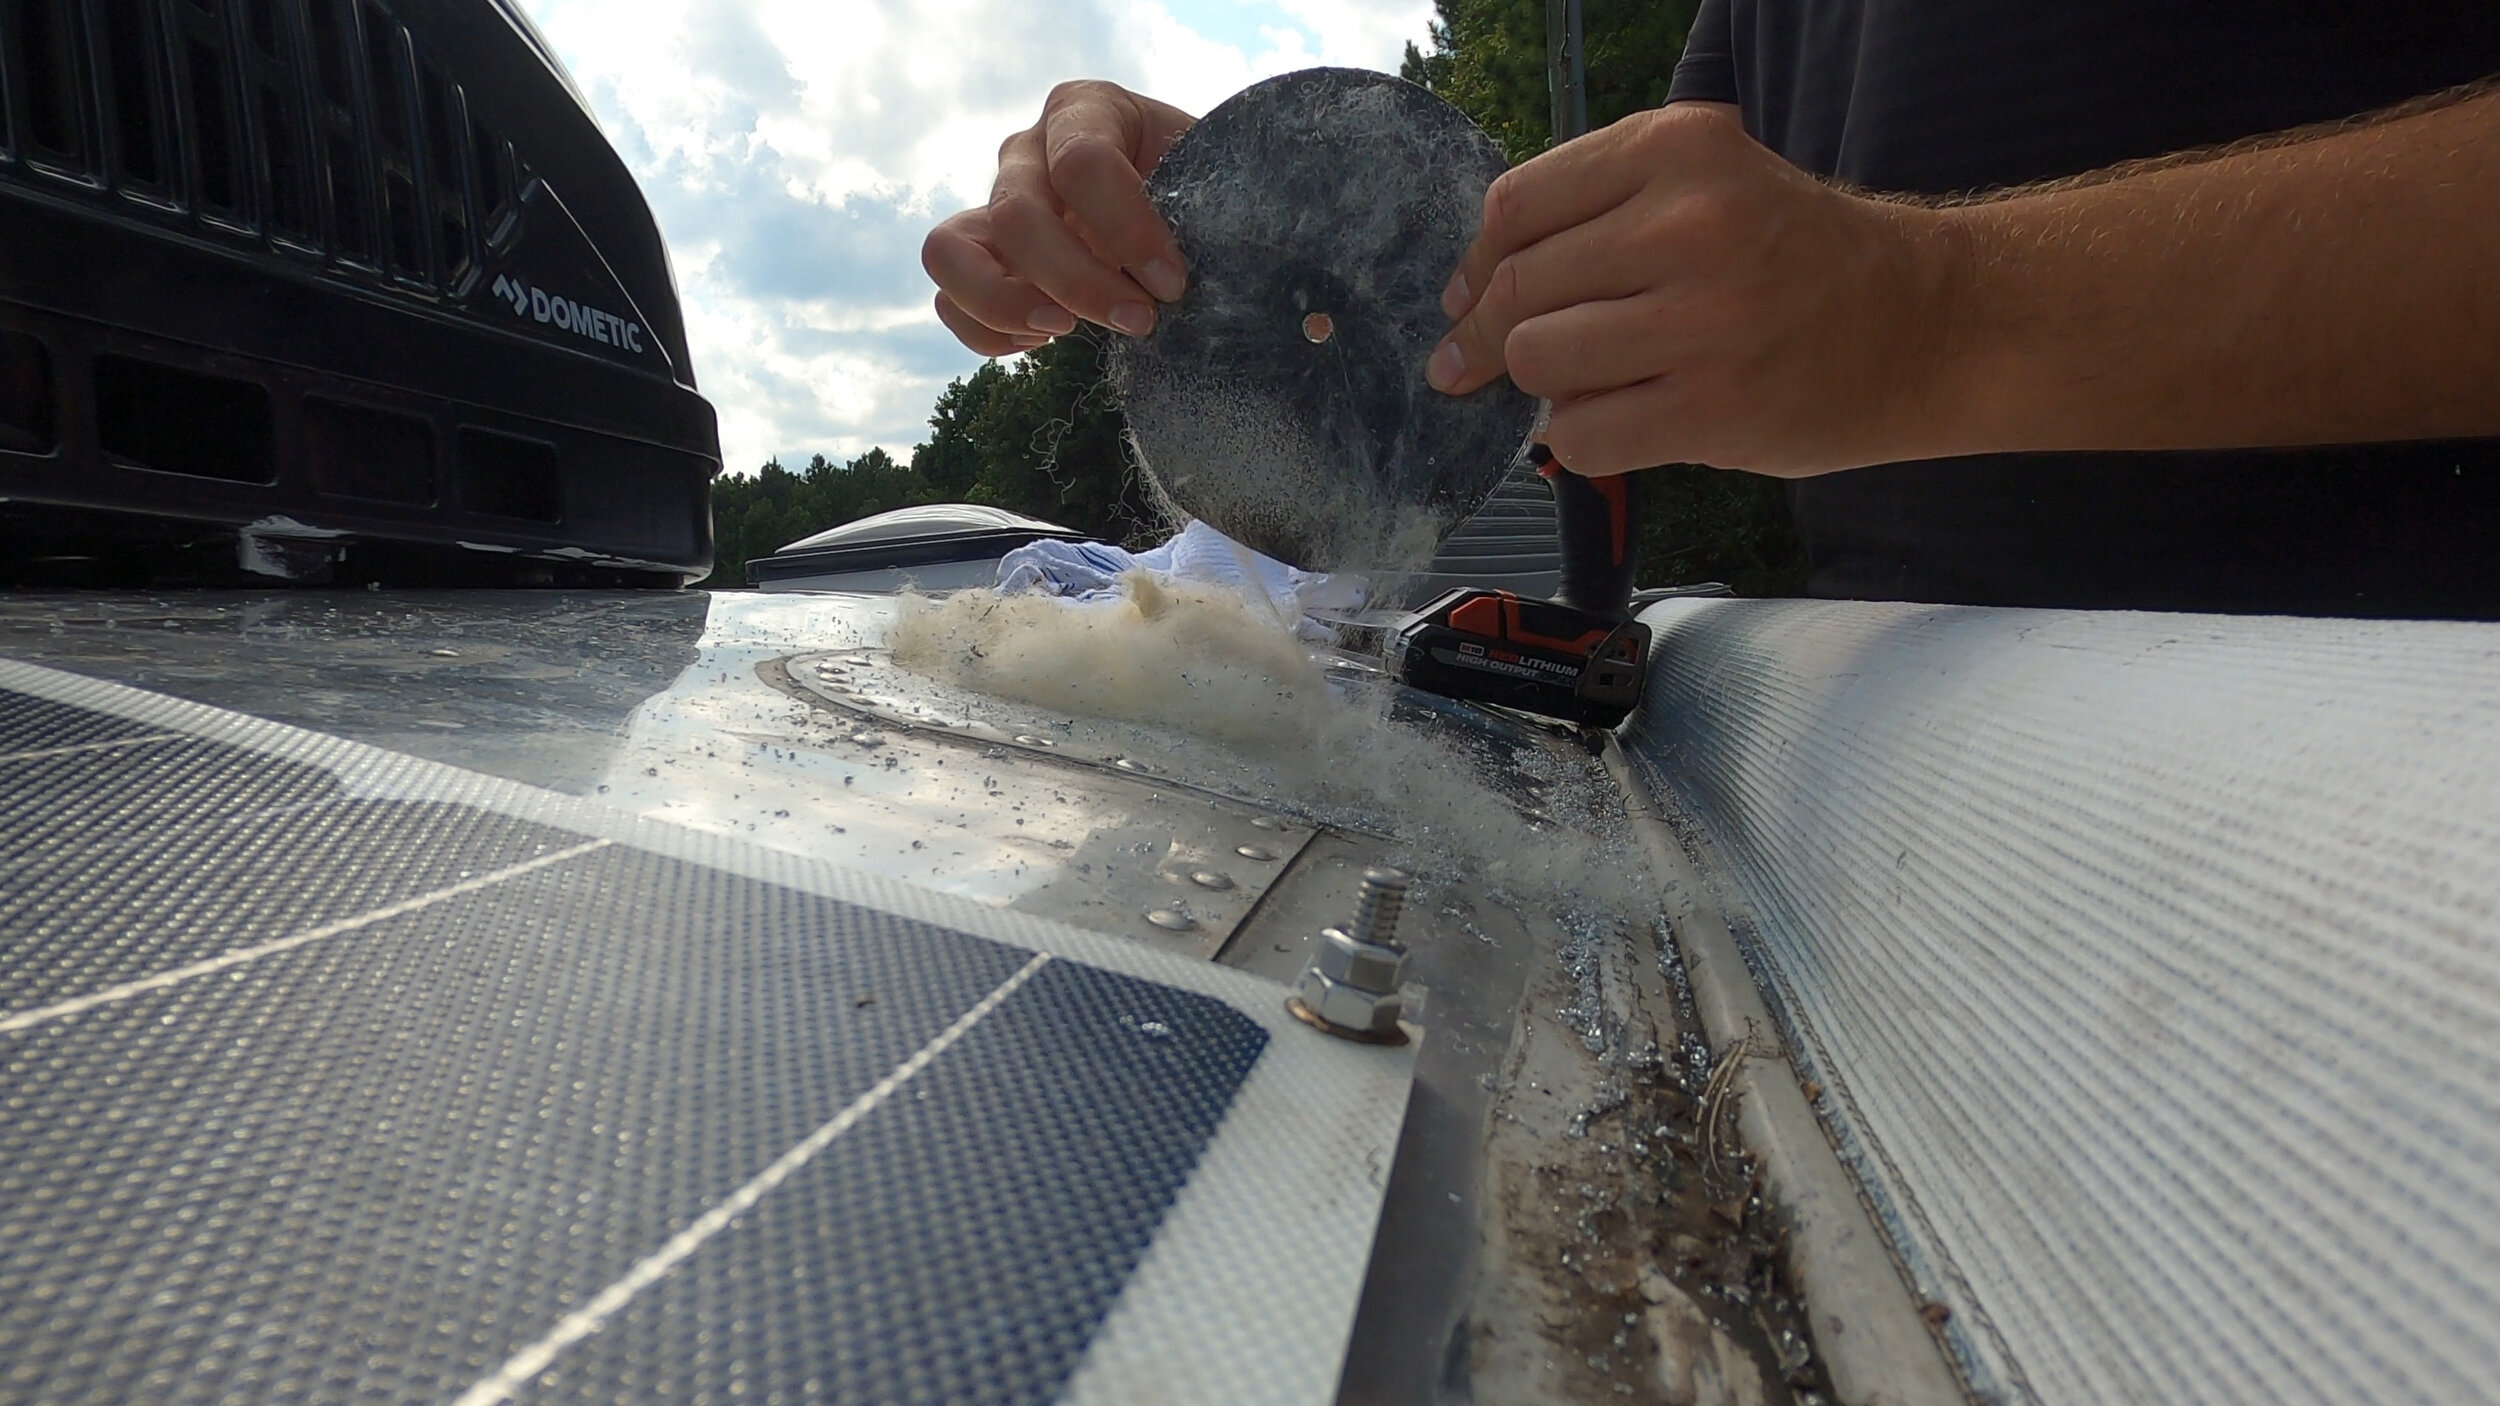
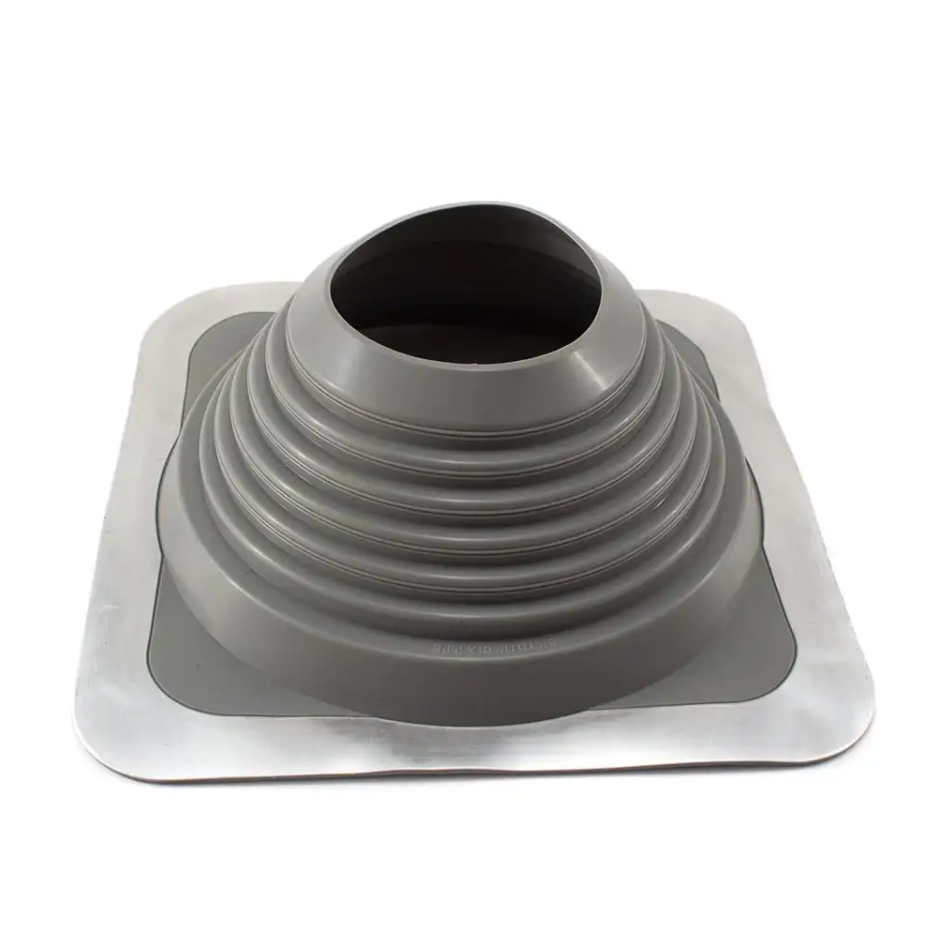
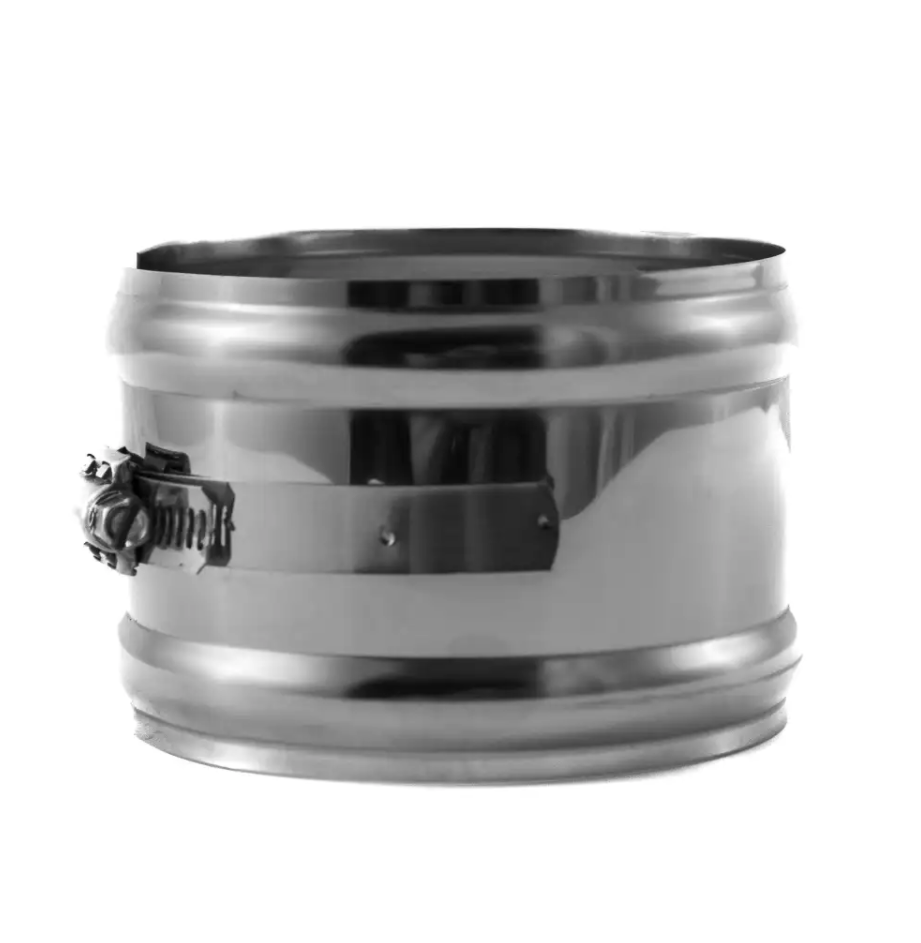
This entire install should only take a few hours, if that. So, we chose a day where rain was not in the forecast at all, and aimed to get the roof sealed and leak-free as soon as possible. This means as soon as we had the roof vent mounting bracket in place we began installing the 6” to 11” silicone gasket.
We slipped the silicone gasket over the flue pipe, and made sure it was sitting flat and unobstructed by anything on our roof.

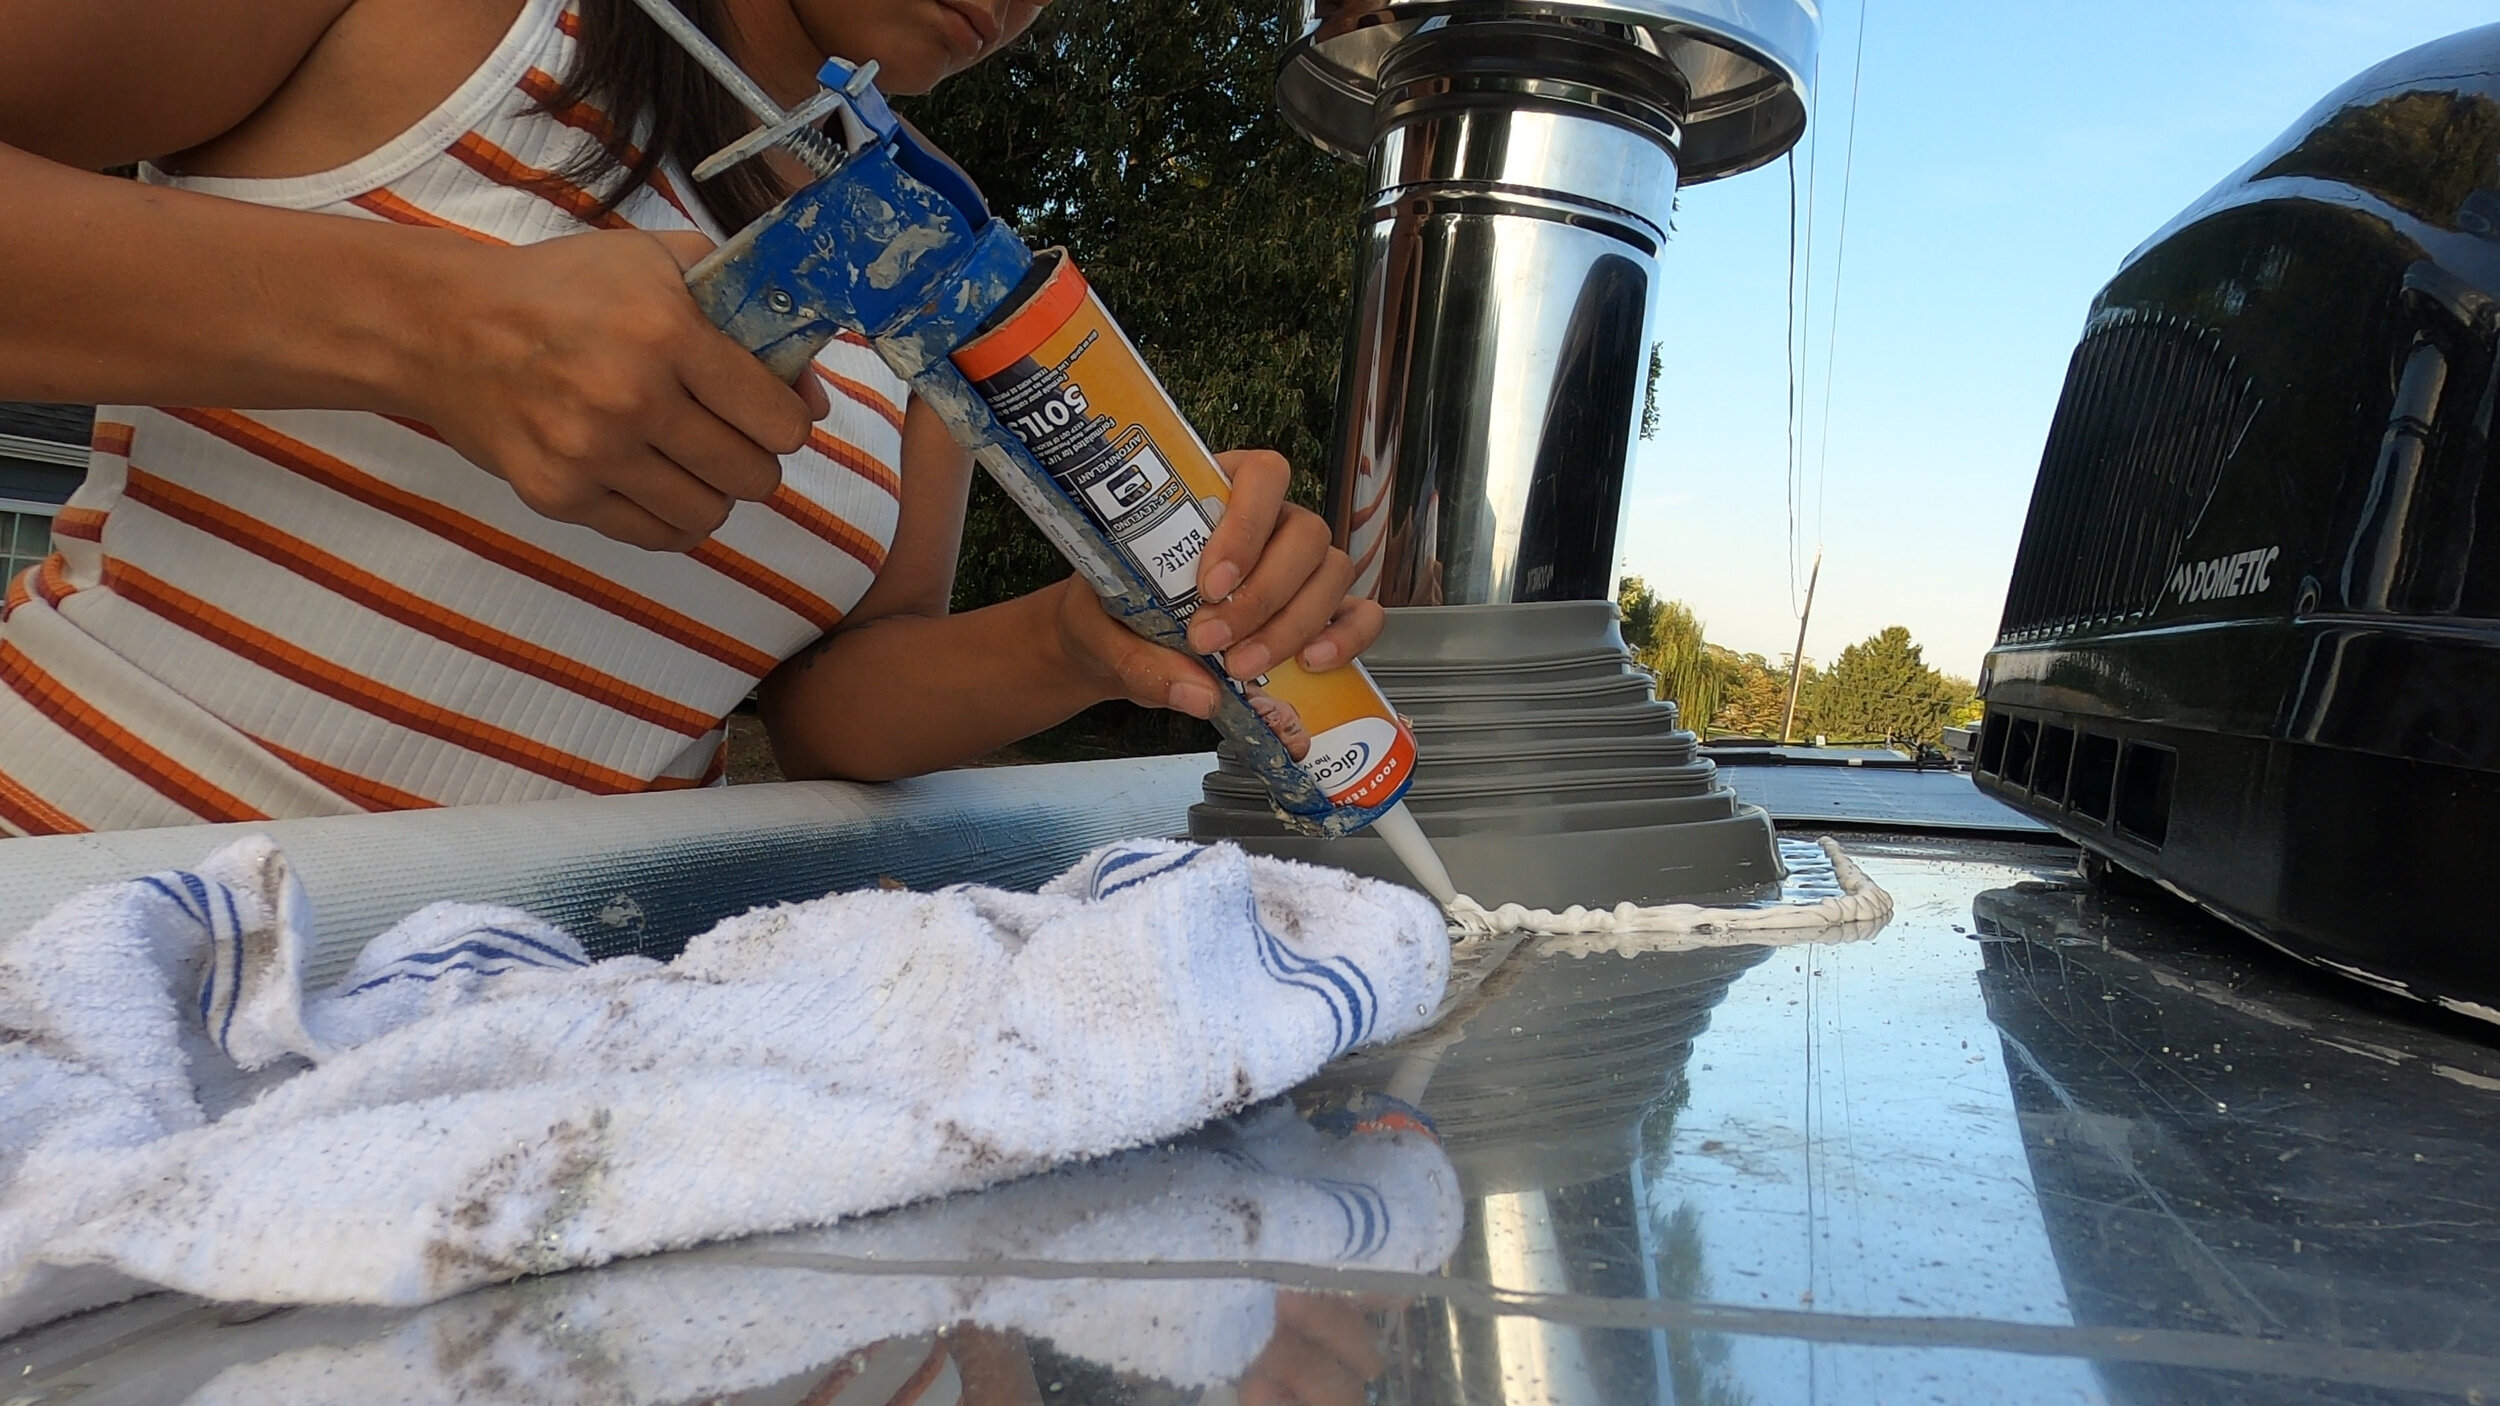
Once the gasket was in place, we switched positions on the ladder, and began laying a bead of Dicor Self-Leveling Lap Sealant around the entire gasket edge. The directions state not to add any sealant or silicone on the neck of the gasket where it is snug on the double-wall flue. We followed those instructions, and have not had a leak.
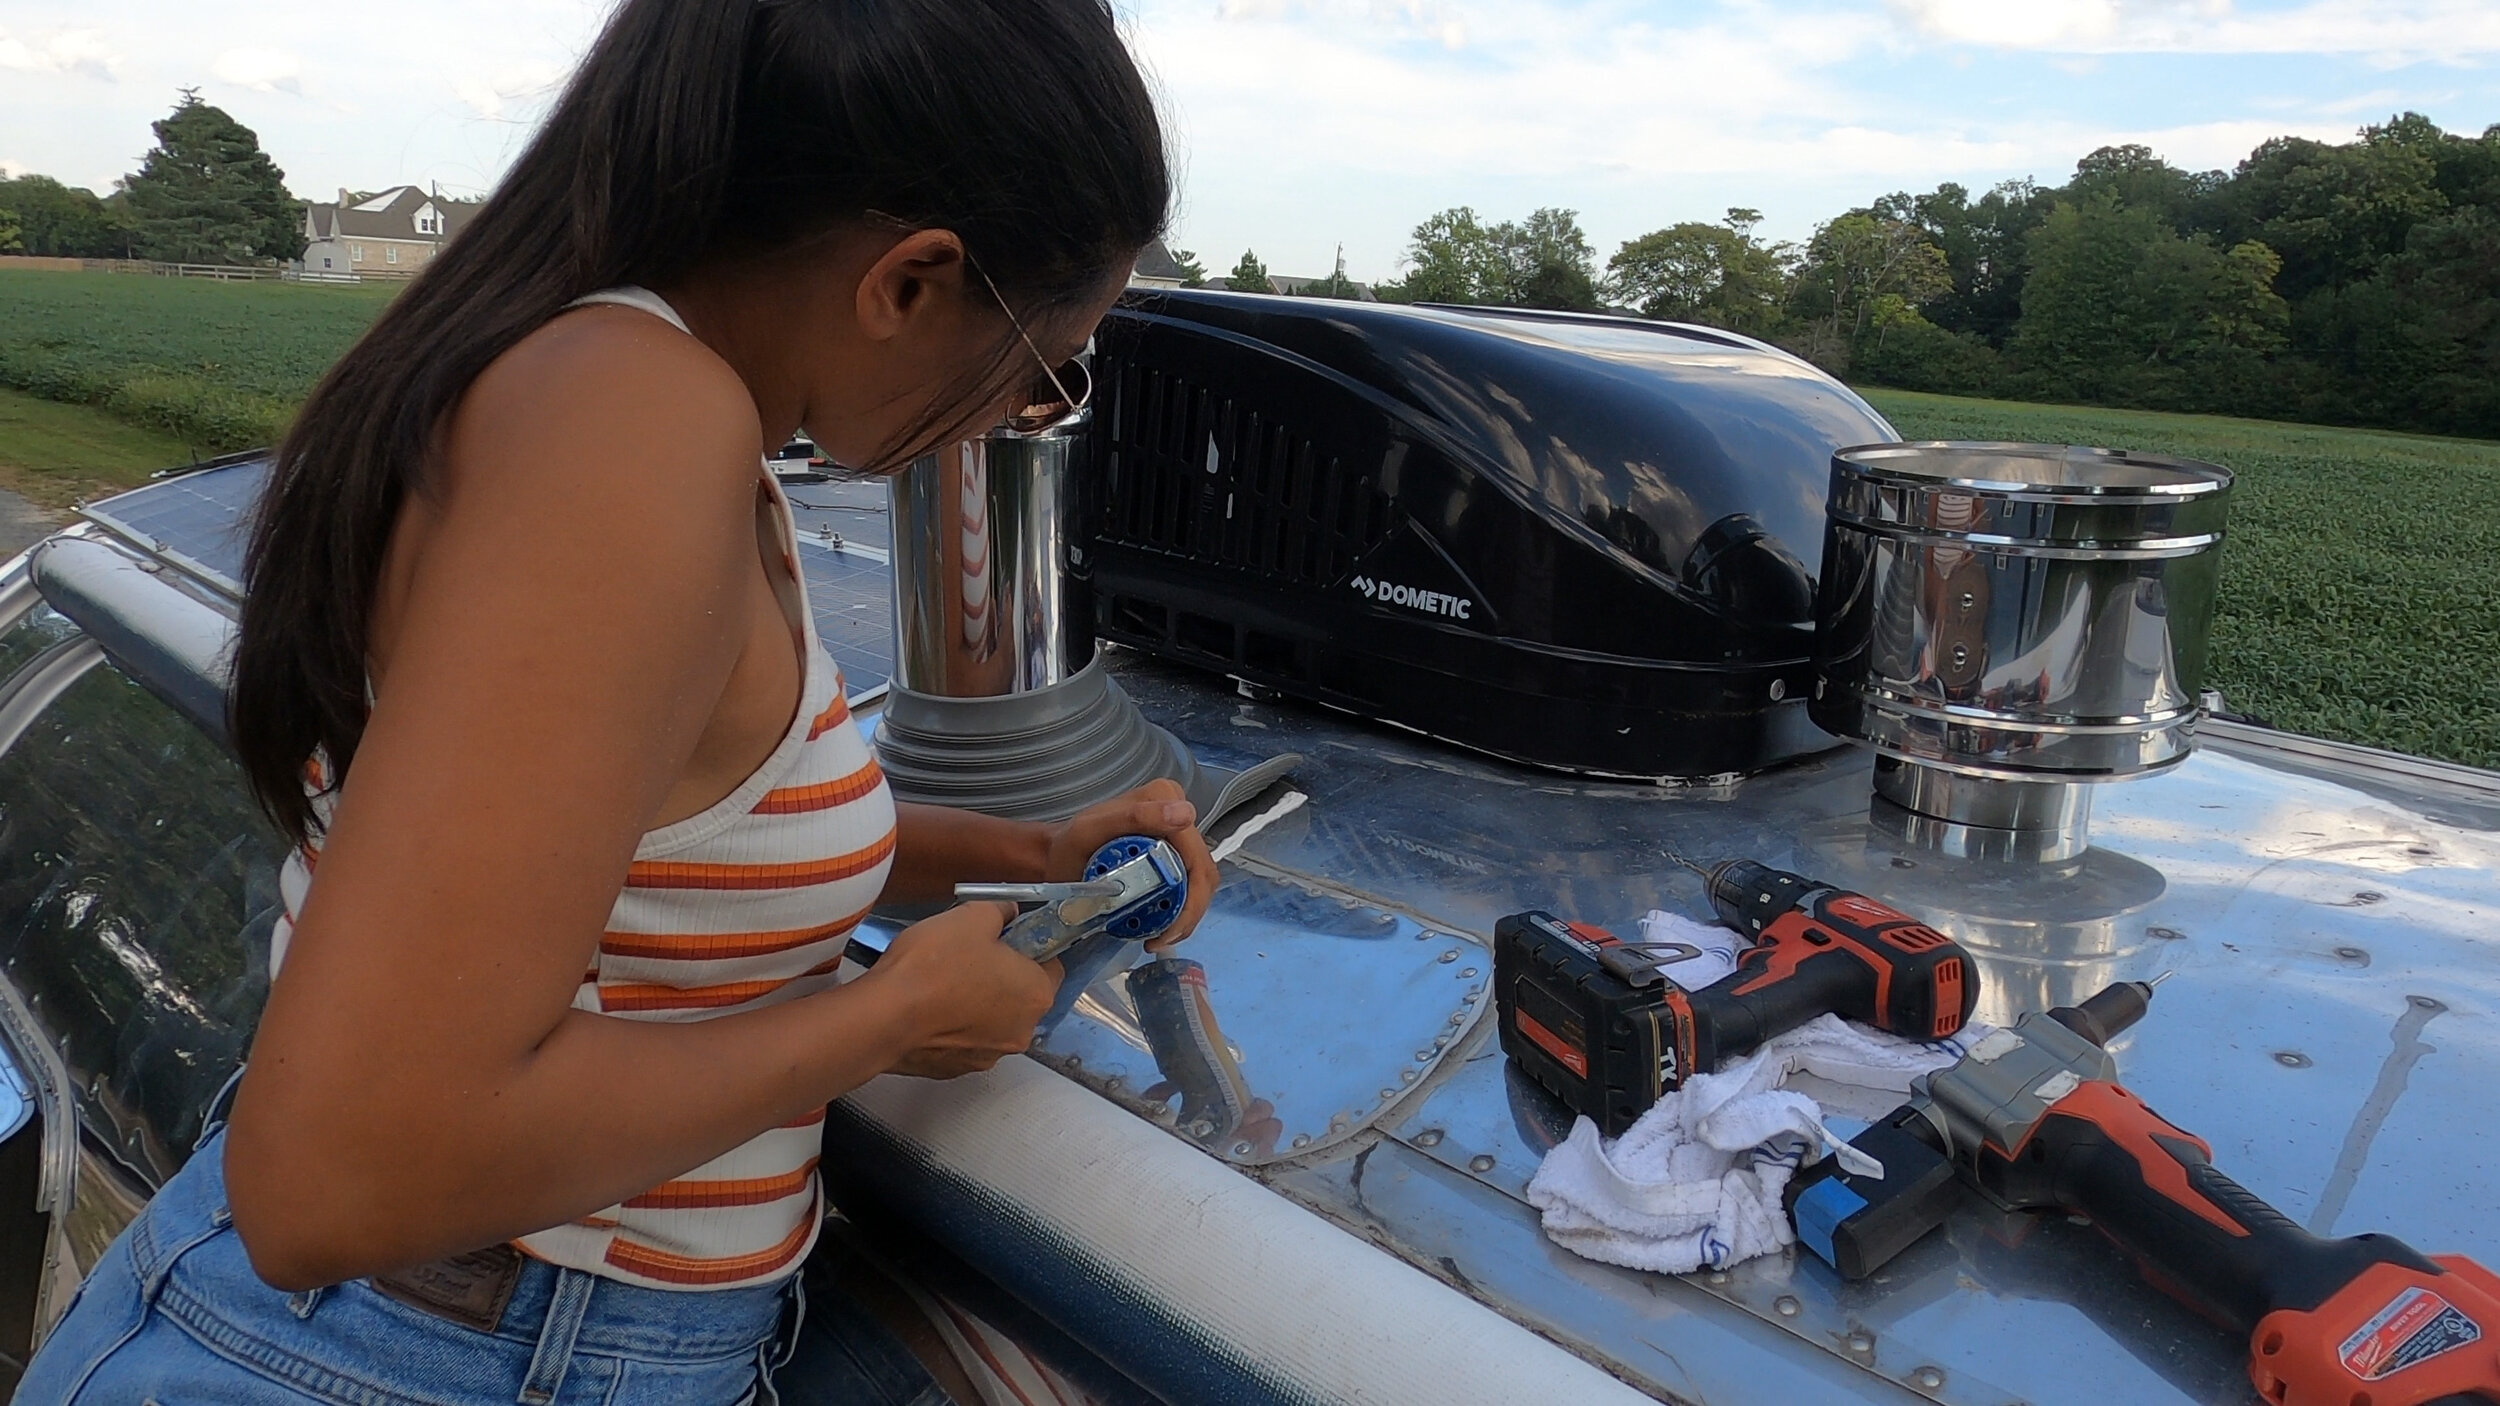
At this point, we were ready to begin riveting our gasket in place. There are not dedicated holes in the silicone gasket for securing it in place. We drilled into the gasket and the roof right there while it was in place, and began riveting as we went. This took the most time during the gasket install, but that is mainly because we used a fair amount of rivets to secure the gasket.
After securing the silicone gasket into place, we grabbed the Dicor lap sealant and ran another bead of caulk around the lip of the gasket as double protection from water penetration, and we covered each rivet with a dot of caulk as well.

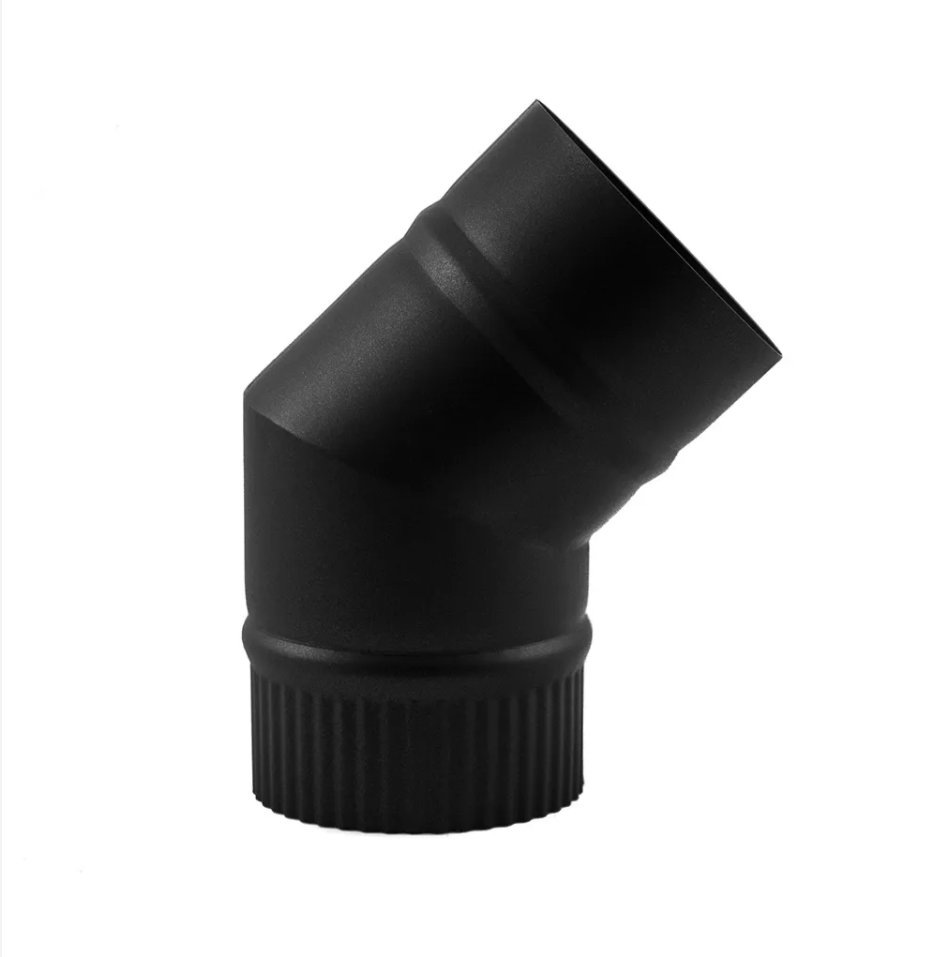
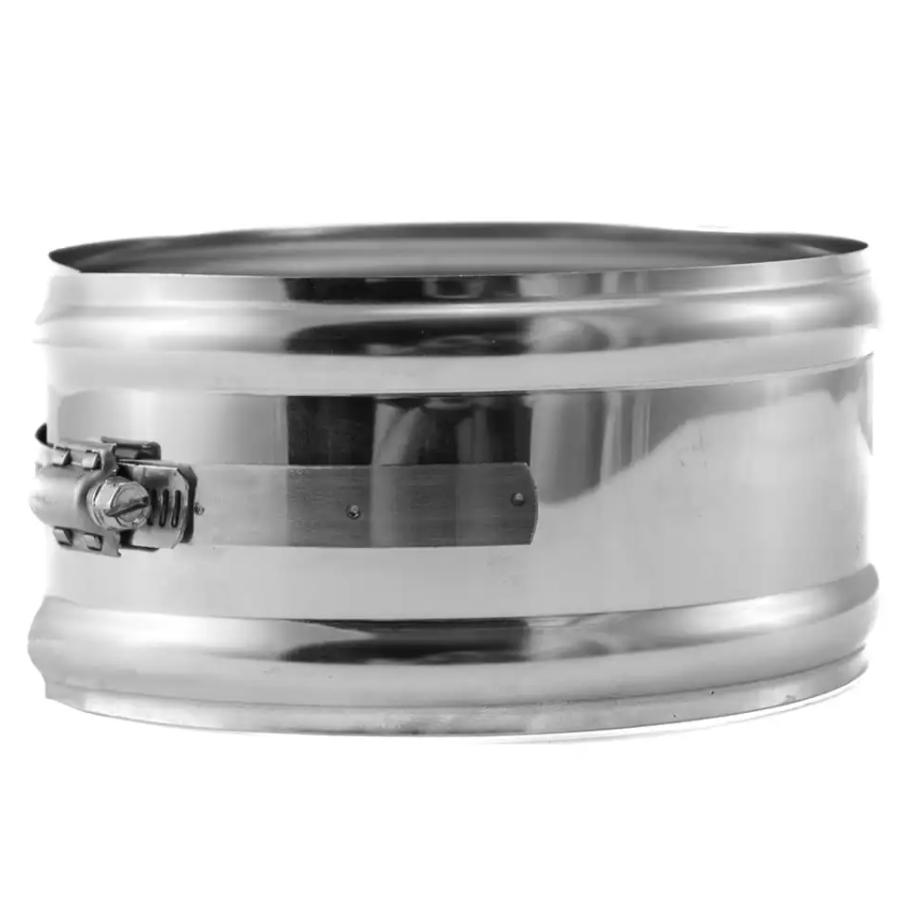
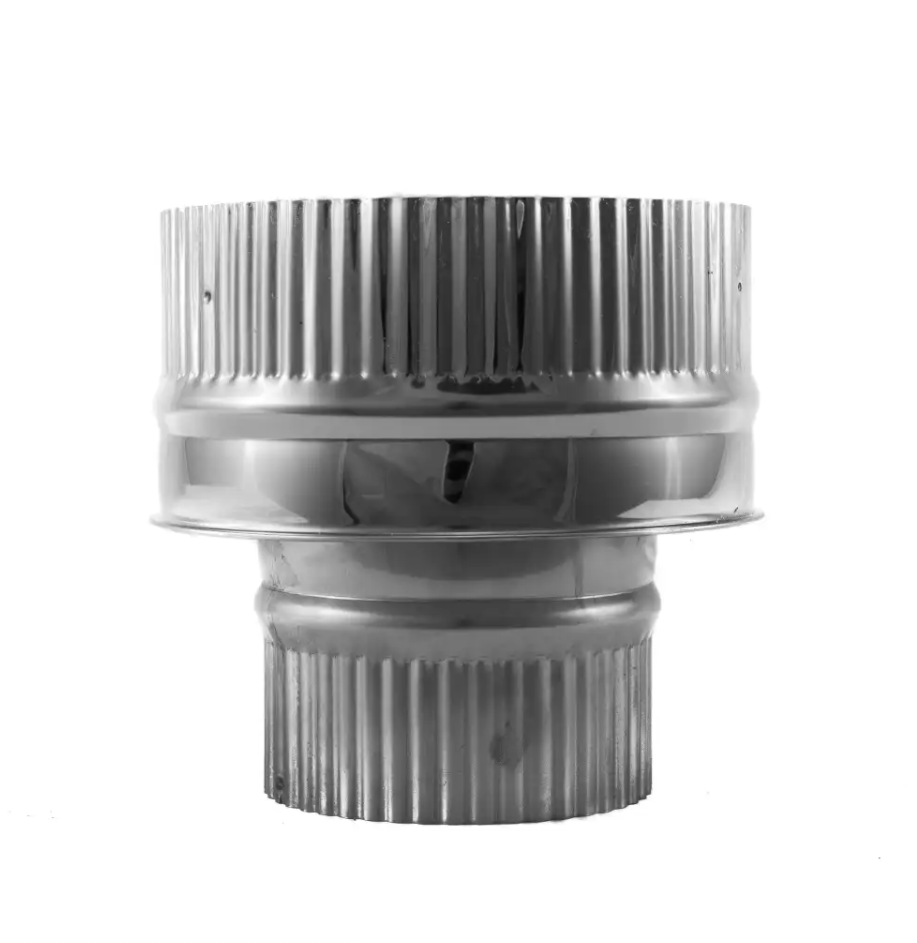
Tiny wood stove Products shown Above
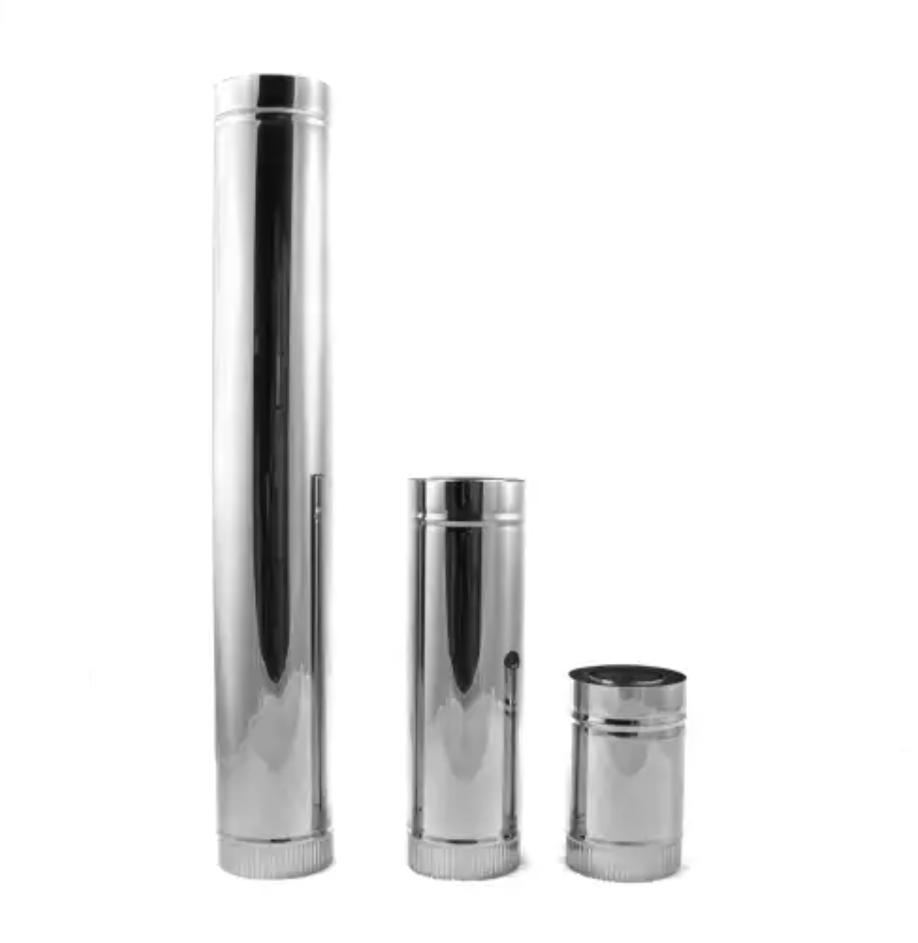

When we first placed our order for our flue setup, we had the idea it would be exiting at a different location. So, we needed to order an additional piece of pipe to make our setup work. And, even with an additional pipe ordered, we needed to make some edits to the pipes to make everything fit just right. I will list below the pipe configuration our Airstream has.
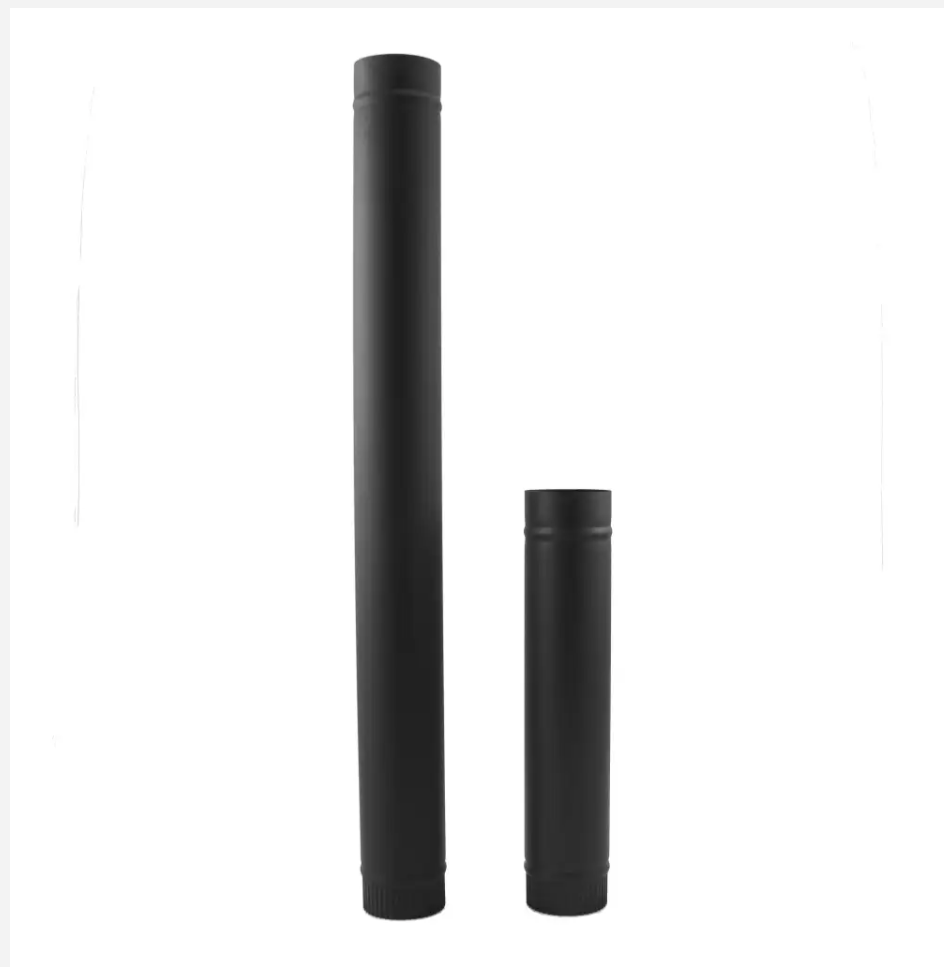
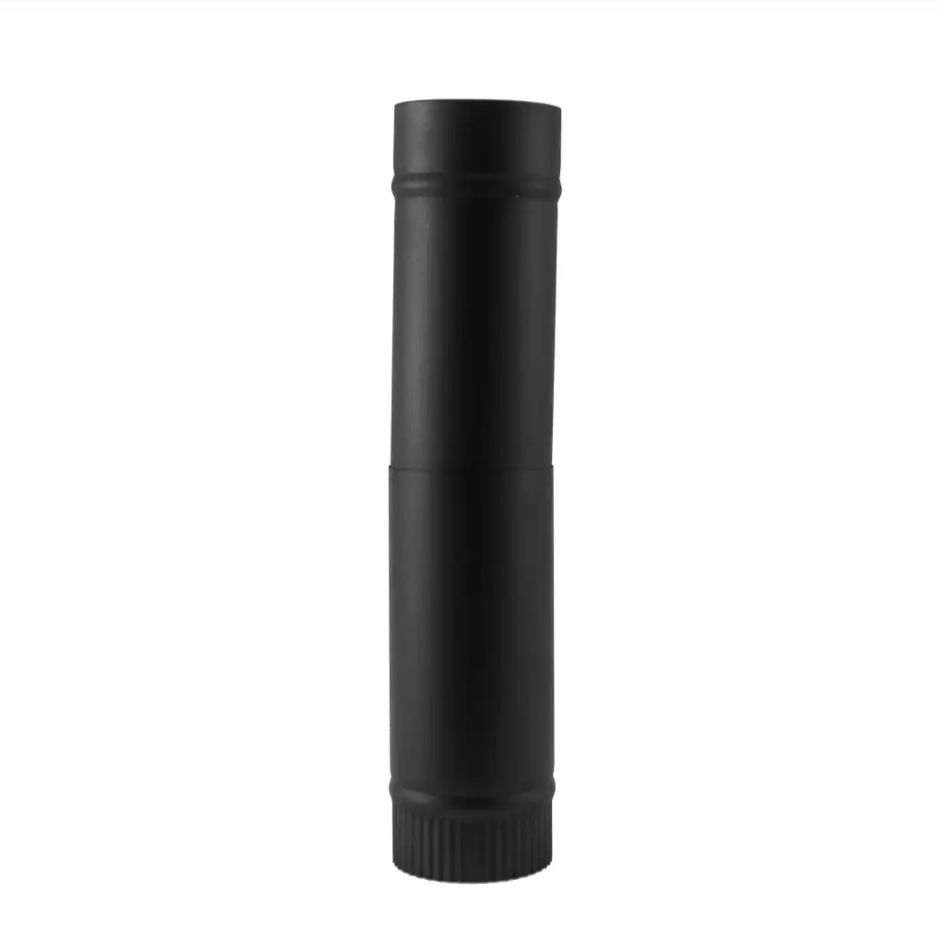
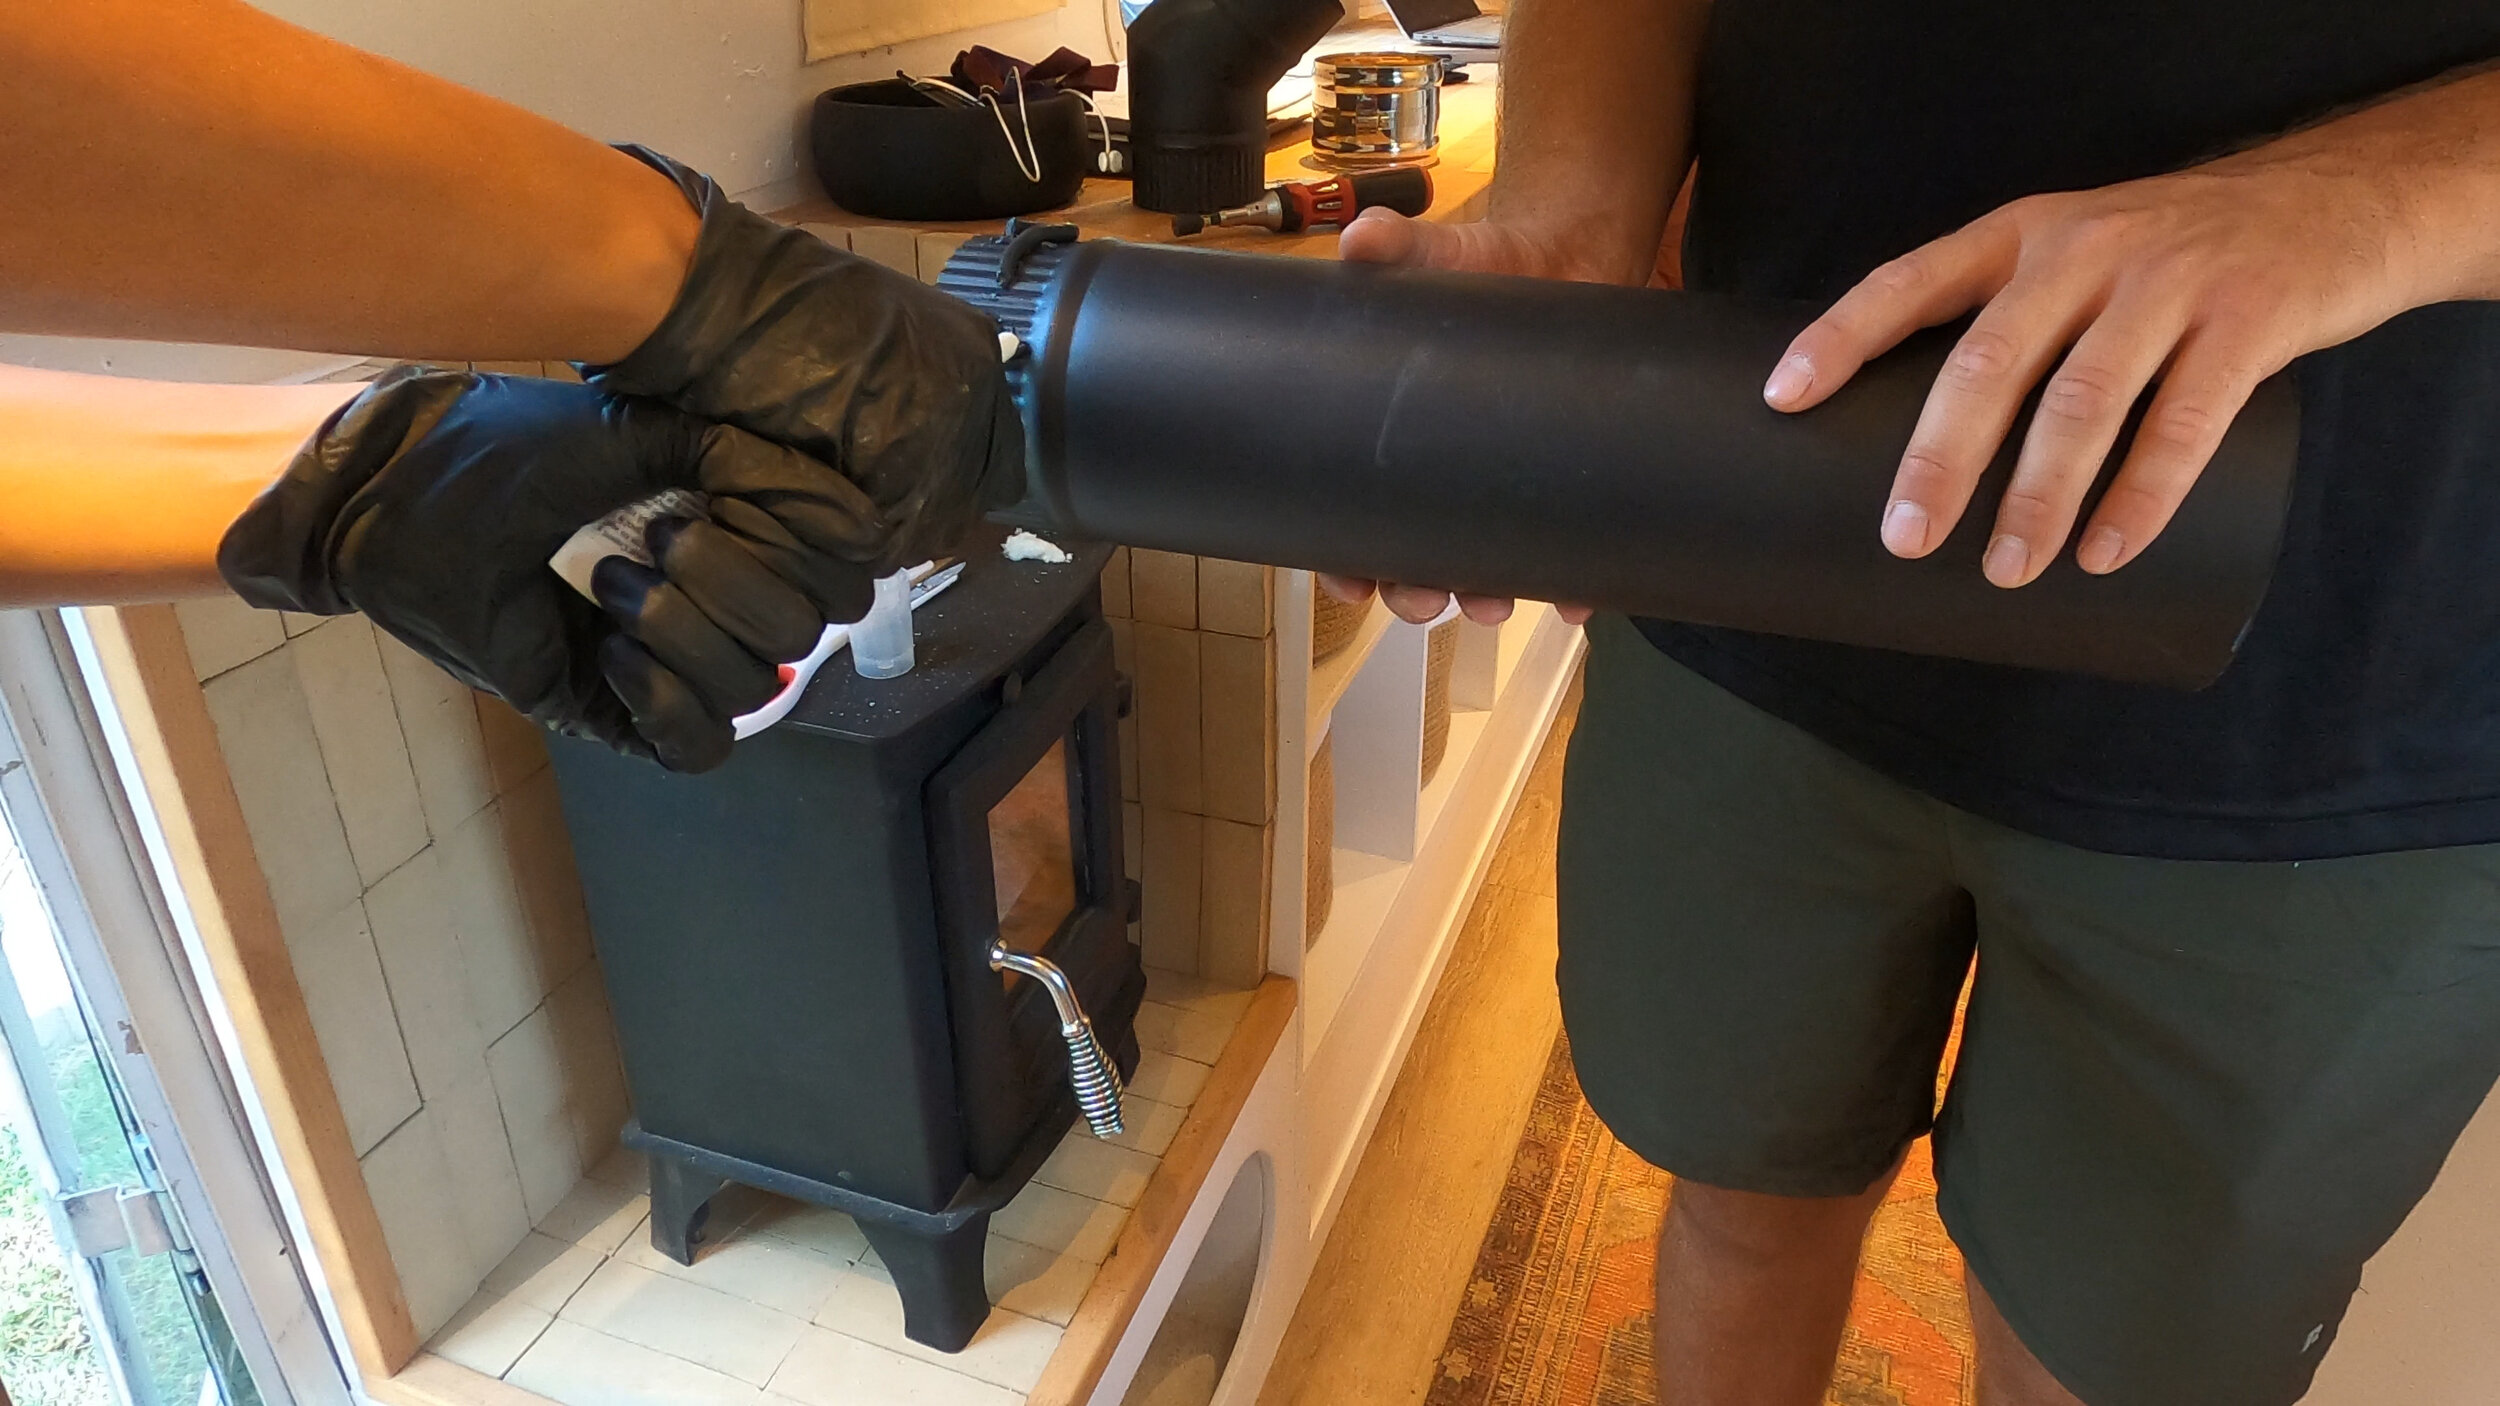
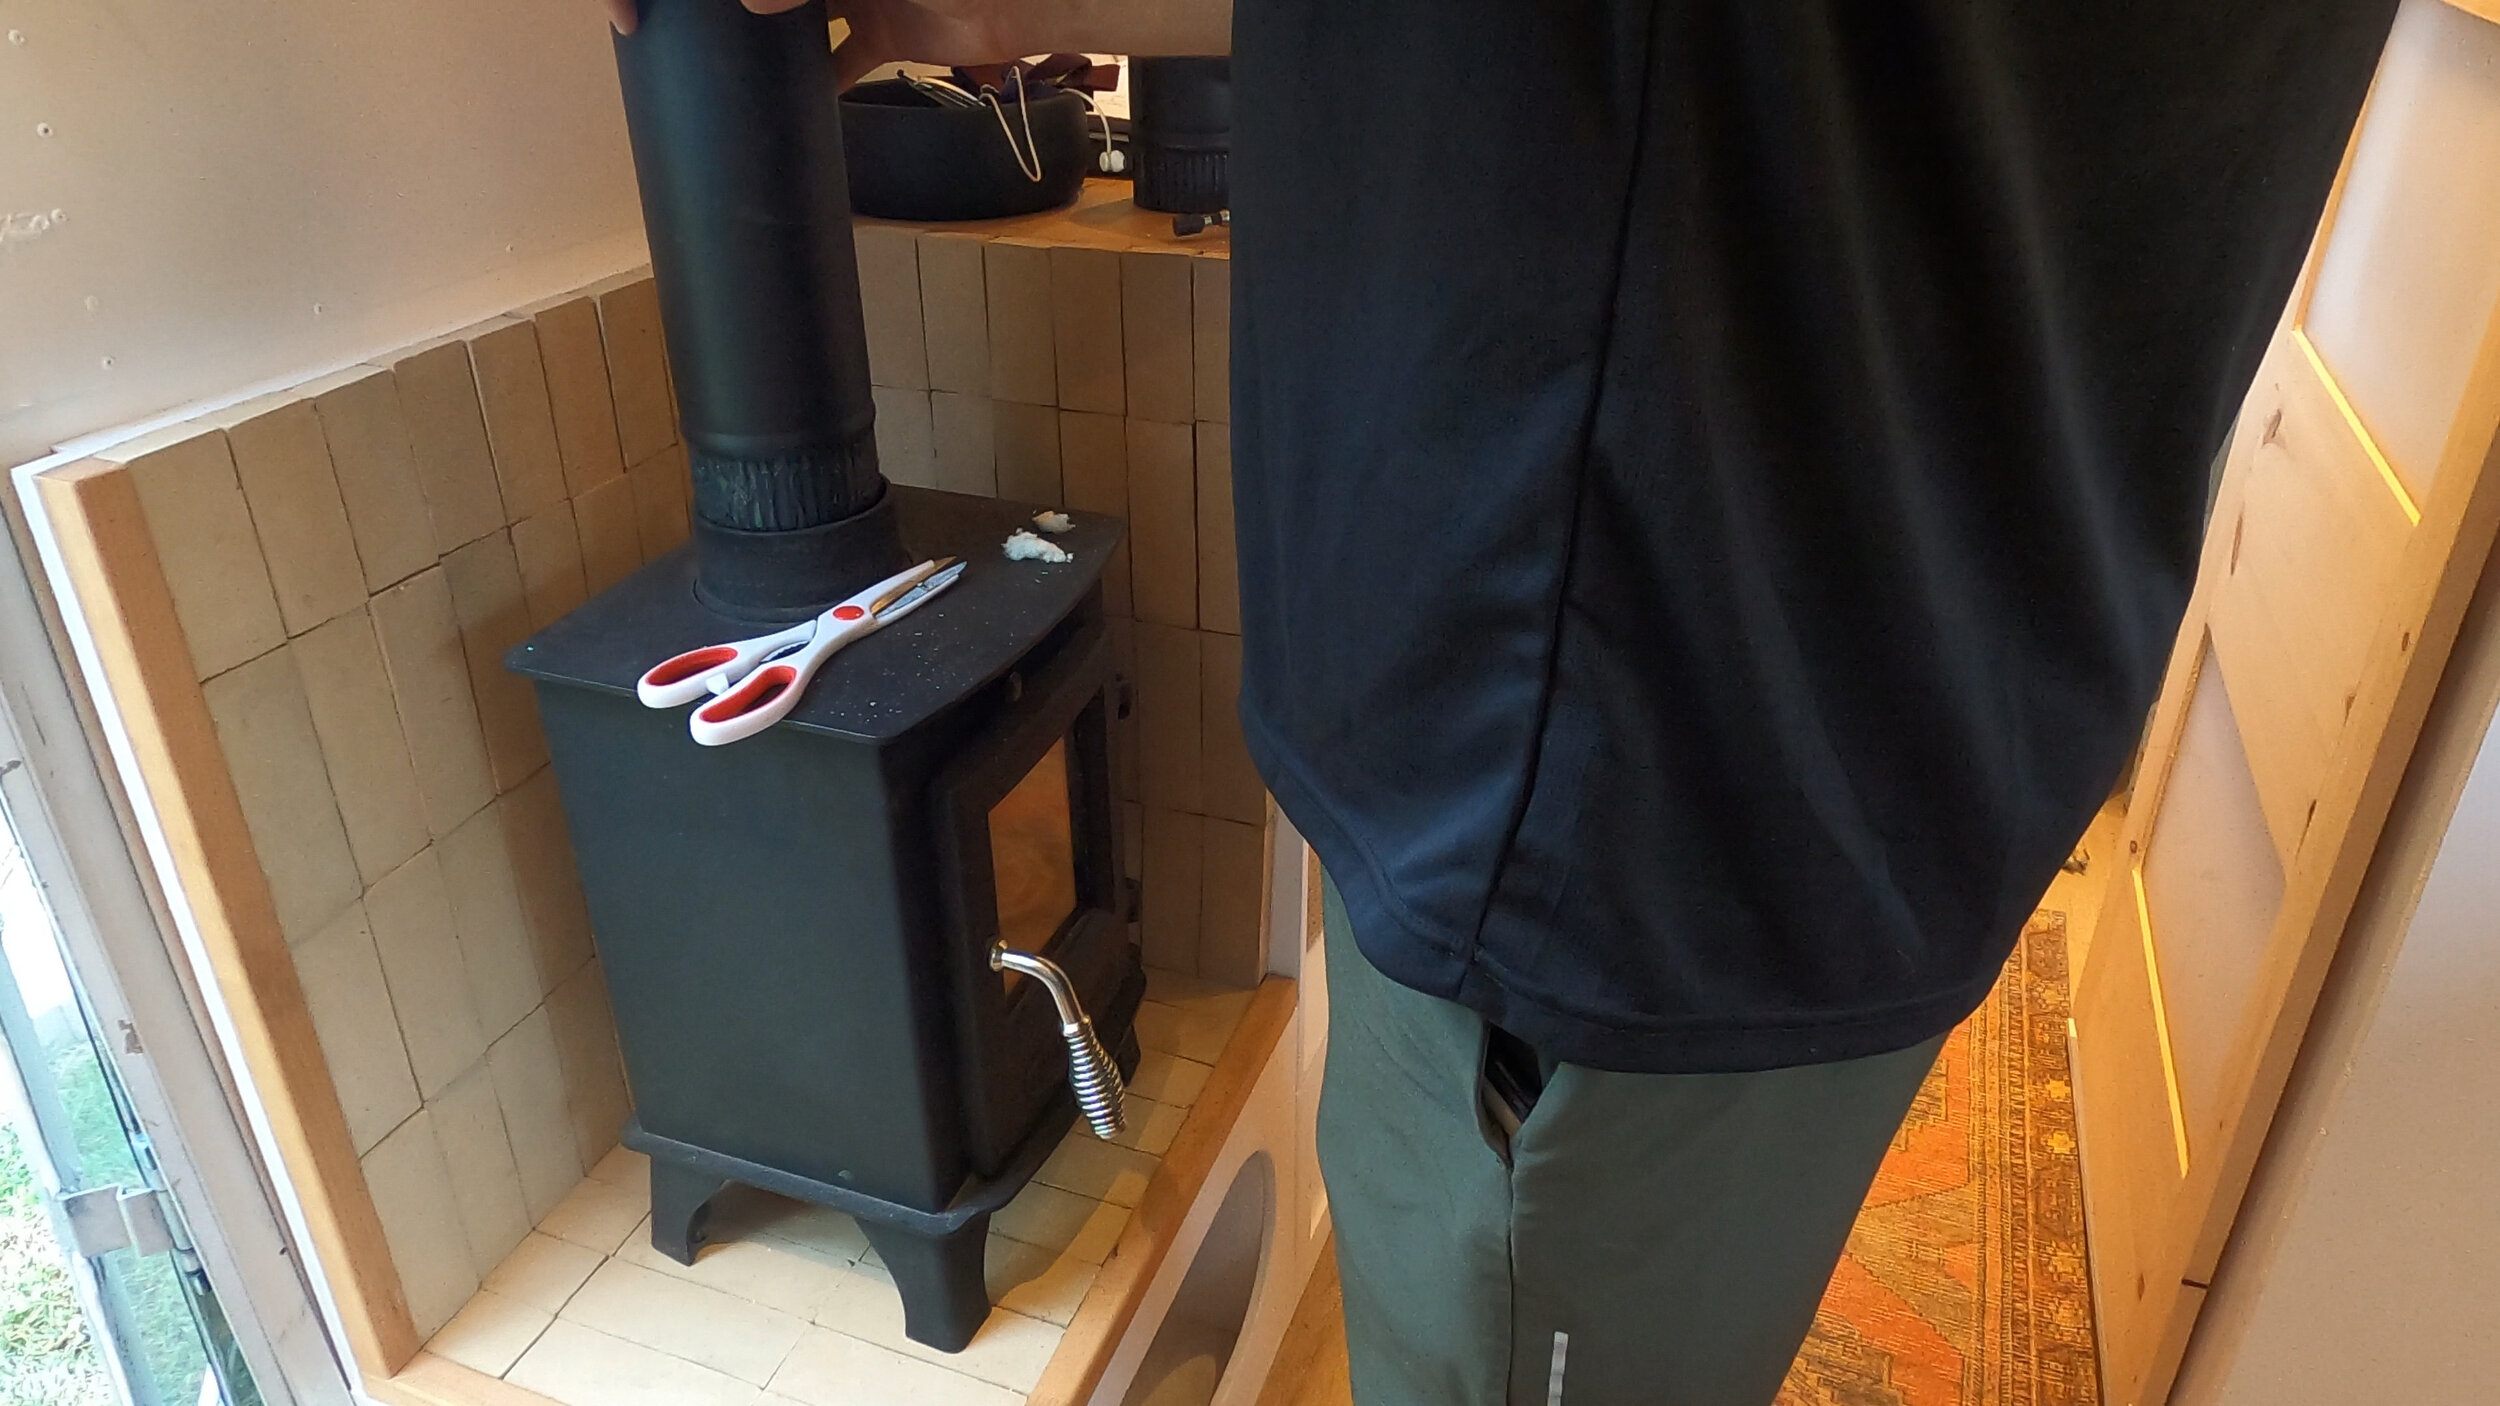
To make our configuration work we had to use a grinder to cut down the 20” single wall pipe that enters the wood stove. Once we cut that pipe down we could finish assembling the other flue parts, so we could test all of our pipes together.
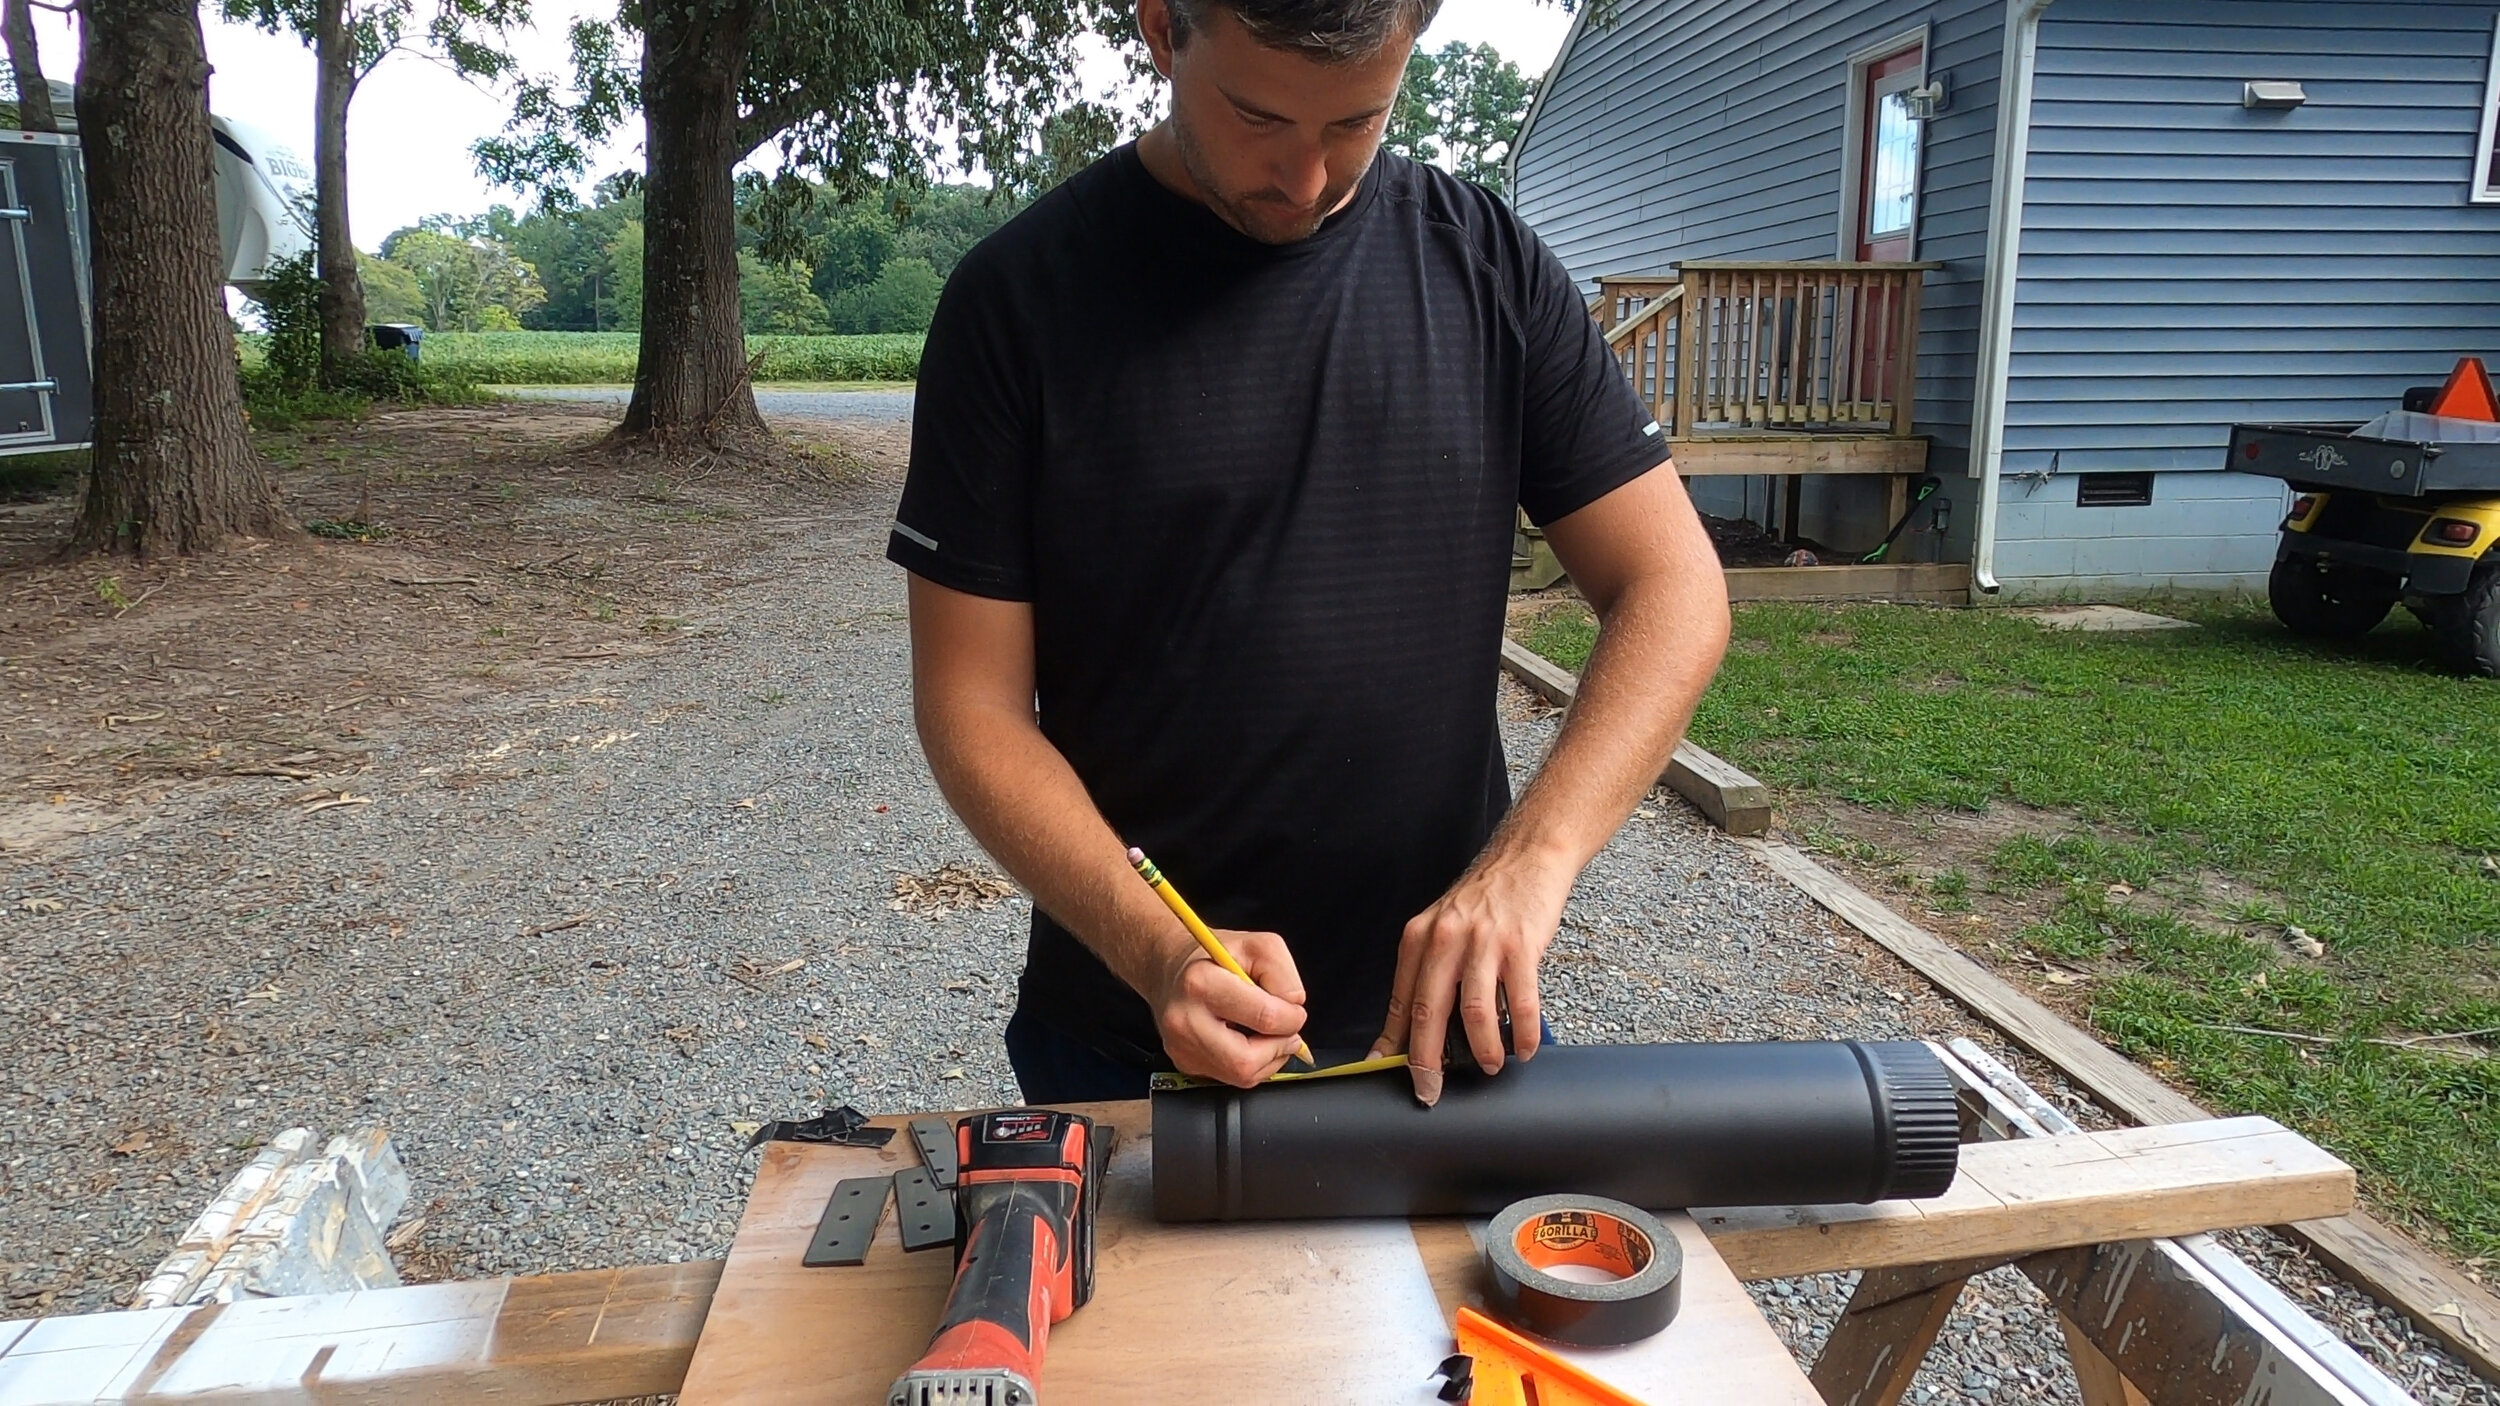
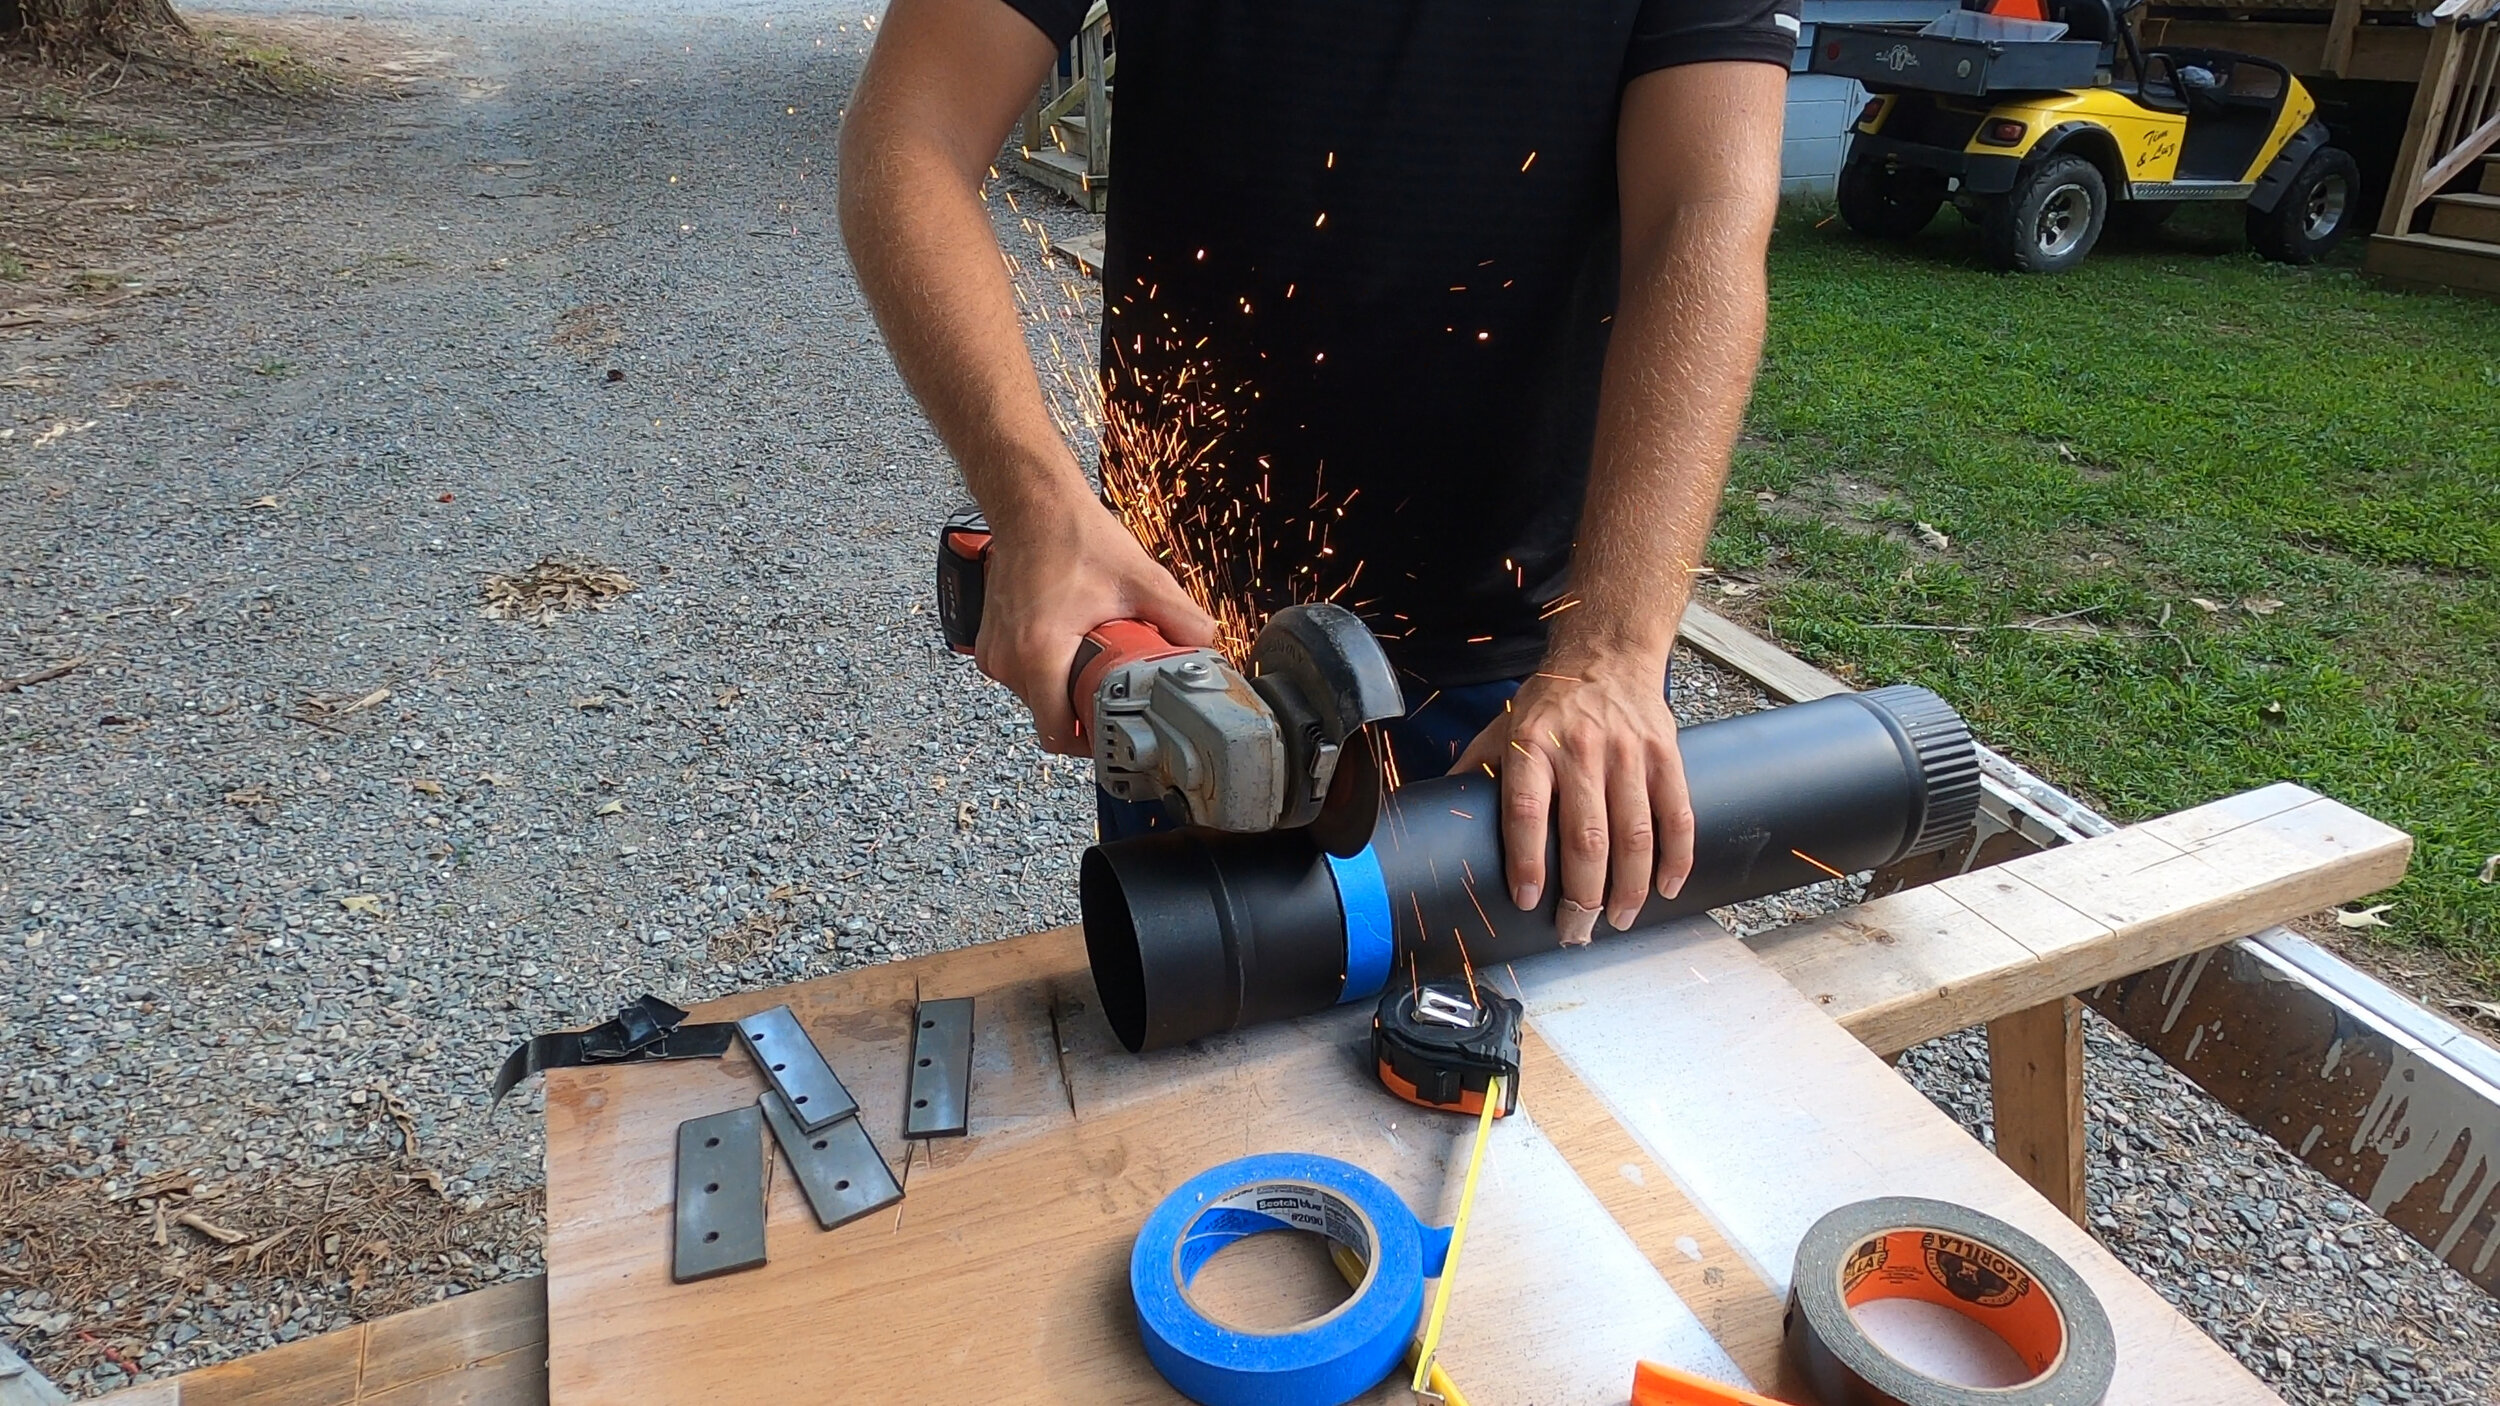
Important Note: If you have to cut one of the single-wall pipes be sure to cut it on the male end of the pipe and not the corrugated female end!
Now that we know all of our pipes fit the way we want them, we can use the stove gasket cement (the gasket cement comes included in the 4” RV flue bundle) to adhere the 4” pipe that connects directly to the stove. Be sure to read and follow the directions on the stove gasket cement!